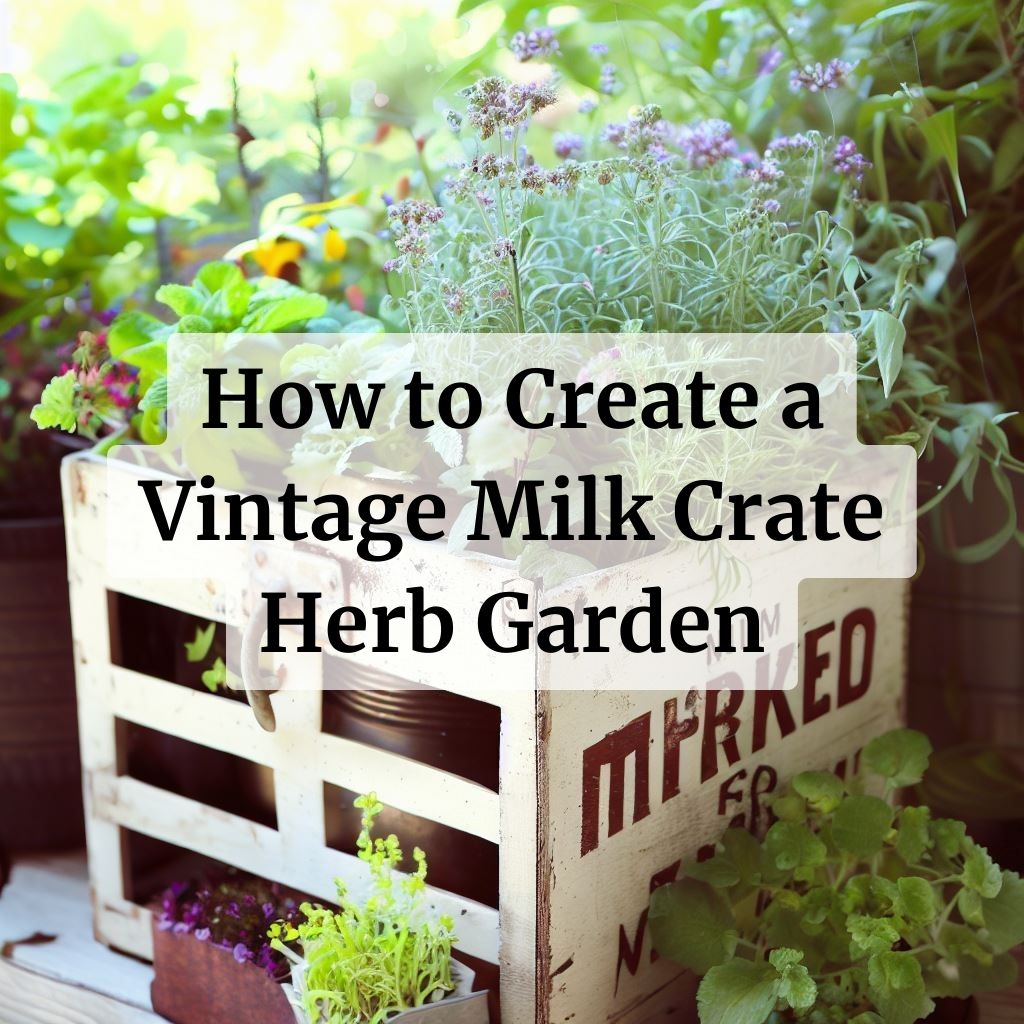
Learn how to create a vintage milk crate herb garden in six easy steps and enjoy fresh herbs all year round, even if you have limited space. With this guide, you’ll discover the benefits of growing your own herbs and how to transform an old metal crate into a charming container for your favorite herbs.
In this article
Key Takeaways
| What You’ll Need | What You’ll Do | What You’ll Get |
|---|---|---|
| – A metal crate of any kind – Moss or fiber liner – Potting soil – Herbs of your choice | – Line the crate with moss or fiber – Fill it with soil – Plant the herbs – Water and care for them | – A beautiful and functional herb garden – Fresh herbs for cooking, tea, or medicine – A sense of satisfaction and creativity |
Preparing the Crate and the Soil
Step 1: Choose a crate
The first thing you need to do is find a crate that suits your style and space. You can use any kind of metal basket, such as a locker basket, a milk crate, or a wire basket. The crate should have holes or gaps for drainage and air circulation. You can find vintage metal crates at flea markets, thrift stores, or online.
Alternatively, you can also make your own metal crate by using chicken wire, wire mesh, or metal rods. Just make sure to shape it into a rectangular or square box with four sides and a bottom. You can also add handles or hooks for easy lifting and hanging.
Step 2: Line the crate with fiber
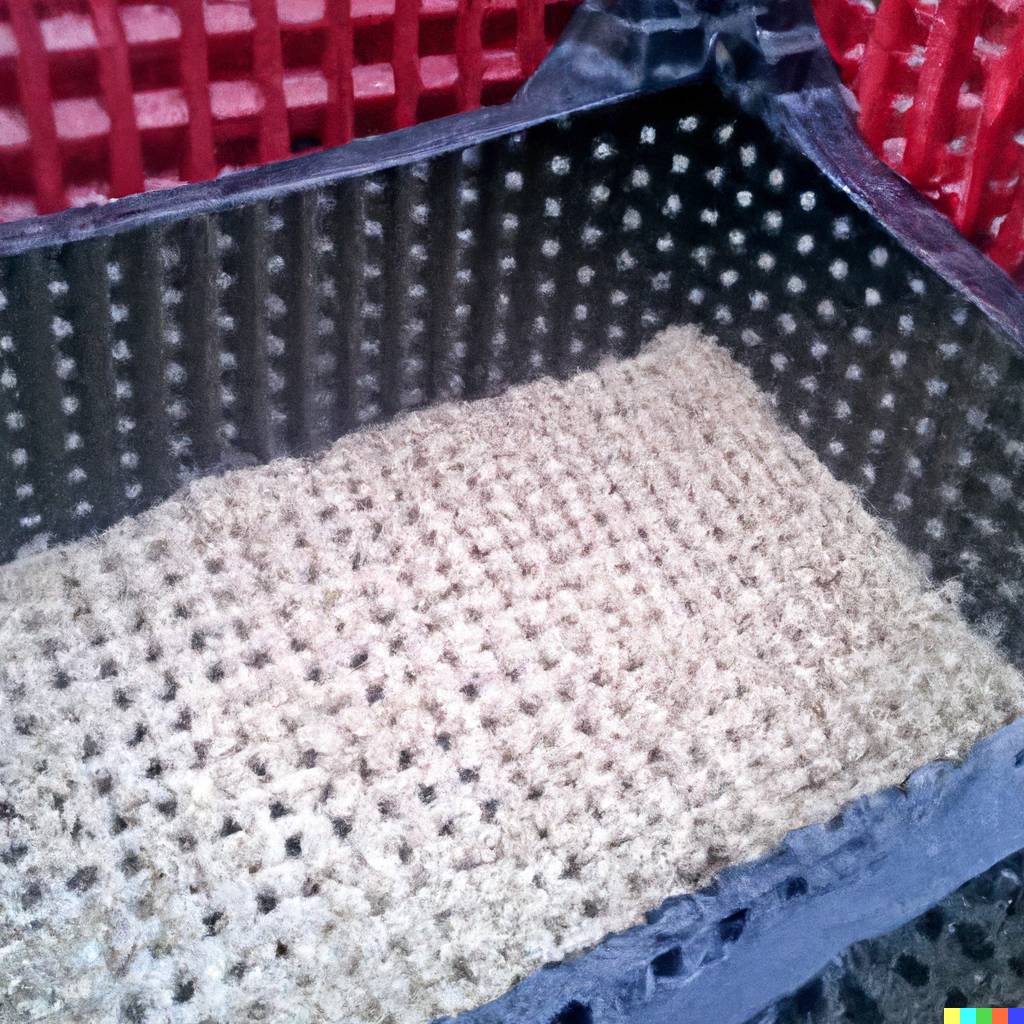
The next step is to line the inside of the crate with fiber or hessian. This will help retain moisture and prevent soil from falling out of the holes. You can use sphagnum moss, peat moss, coconut fiber, or any other natural material that is suitable for lining containers. You may have to cut it and piece it in to fit the shape and size of your crate.
To line the crate, simply press the fiber against the inner walls and bottom of the crate. Make sure to cover all the gaps and leave some extra material hanging over the edges. You can trim the excess later after filling the crate with soil.
Step 3: Fill the crate with potting soil
The final step in preparing the crate is to fill it with potting soil. Potting soil is a mixture of organic matter, minerals, and nutrients that provides a good growing medium for plants. It is different from garden soil, which may contain weeds, pests, or diseases that can harm your herbs.
You can buy potting soil from any garden center or online store. You should choose a potting soil that is rich in organic matter, well-drained, and slightly acidic. You can also add some organic mulch on top of the soil to help retain moisture and prevent weeds.
To fill the crate with potting soil, simply pour it into the lined crate until it reaches about an inch below the rim. You can use your hands or a trowel to level and compact the soil. Make sure to leave some space for planting the herbs.
Planting and Caring for the Herbs
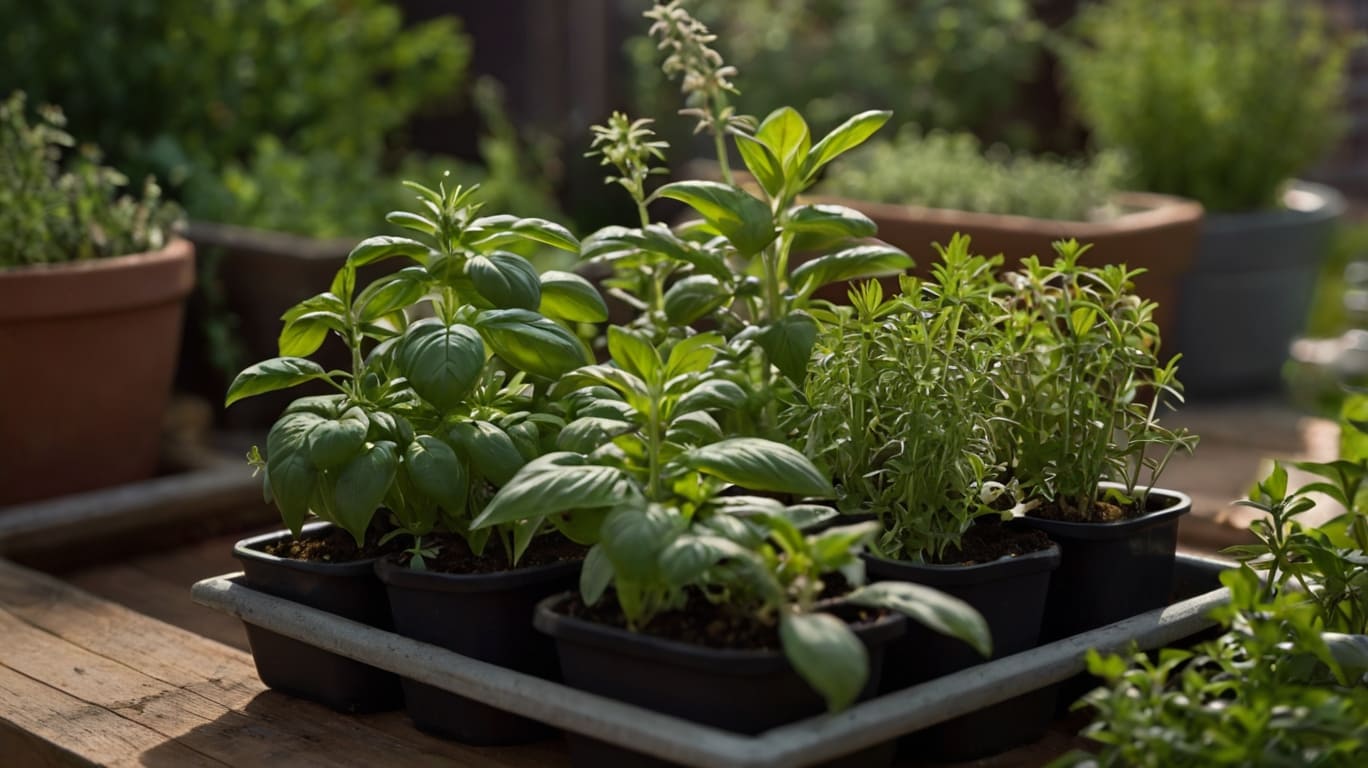
Step 4: Choose your herbs
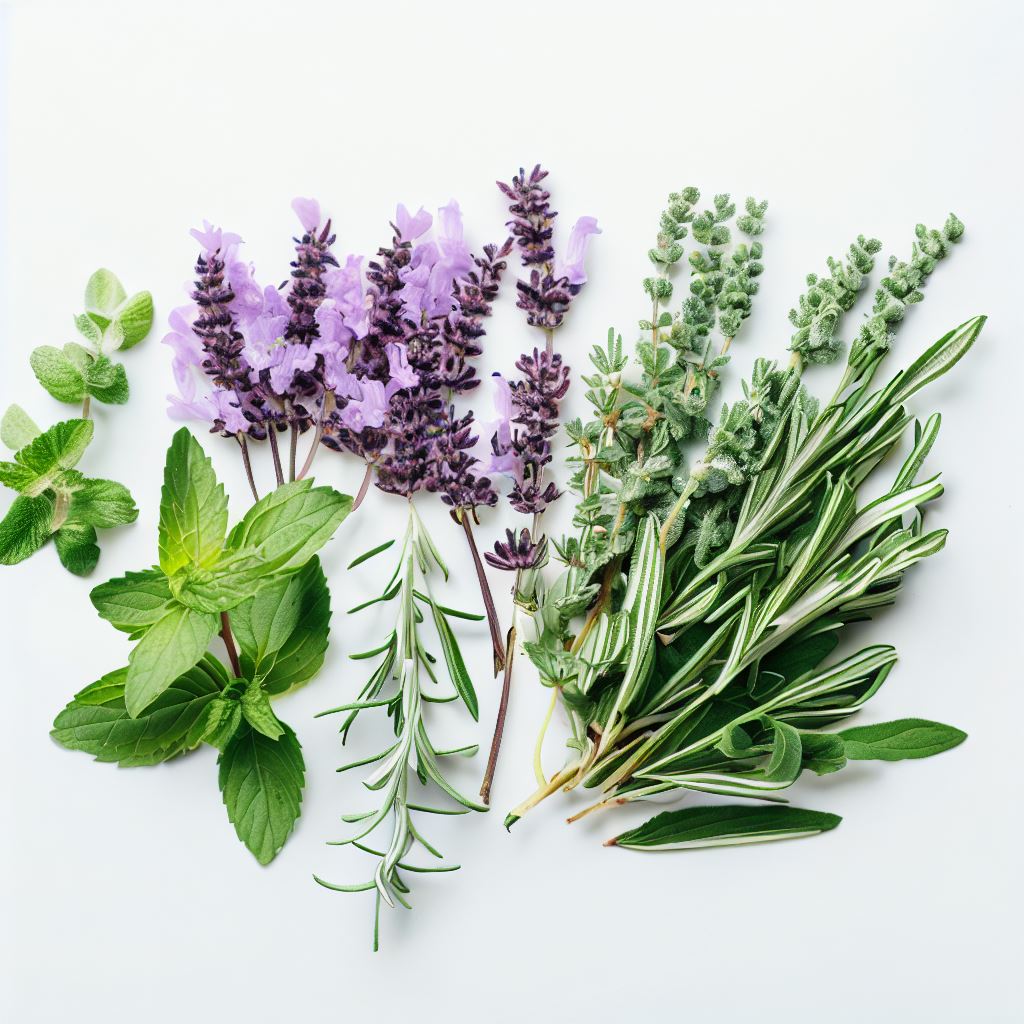
Now that you have prepared the crate and the soil, it’s time to choose your herbs. You can grow any kind of herbs you like in your vintage milk crate herb garden, depending on your taste and preference.
Some popular herbs for container gardening are:
- Basil: A fragrant herb that adds flavor to salads, soups, sauces, and pesto.
- Mint: A refreshing herb that can be used for tea, cocktails, desserts, and salads.
- Parsley: A versatile herb that can be used as a garnish or an ingredient in soups, stews, salads, and sauces.
- Rosemary: A woody herb that pairs well with meat, potatoes, bread, and cheese.
- Thyme: A savory herb that enhances dishes like soups, stews, roasts, and casseroles.
- Oregano: A pungent herb that adds a Mediterranean touch to pizza, pasta, salads, and sauces.
- Chives: A mild onion-like herb that can be sprinkled over eggs, potatoes, cheese, and salads.
- Cilantro: A citrusy herb that complements dishes like salsa, guacamole, tacos, and curries.
- Lavender: A floral herb that can be used for tea, lemonade, cookies, and sachets.
You can also mix in some edible or medicinal plants for an even more attractive and beneficial herb garden:
- Calendula: A bright yellow flower that has anti-inflammatory and antiseptic properties. It can be used for skin care, wound healing, and tea.
- Chamomile: A daisy-like flower that has calming and soothing effects. It can be used for tea, bath, and aromatherapy.
- Lemon balm: A lemon-scented plant that has antidepressant and antiviral properties. It can be used for tea, salads, and insect repellent.
- Nasturtium: A colorful flower that has a peppery taste and a high vitamin C content. It can be used for salads, sandwiches, and garnishes.
- Sage: A gray-green plant that has antibacterial and antifungal properties. It can be used for tea, mouthwash, and seasoning.
When choosing your herbs, you should consider the following factors:
- Size: You should choose herbs that have similar growth habits and sizes, so they don’t compete for space or light. You can also prune or harvest your herbs regularly to keep them in shape.
- Sunlight: You should choose herbs that have similar sunlight requirements, so they don’t get burned or wilted. Most herbs prefer full sun or partial shade, but some may need more or less light depending on the season and location.
- Water: You should choose herbs that have similar water needs, so they don’t get overwatered or underwatered. Most herbs like moist but well-drained soil, but some may need more or less water depending on the weather and humidity.
- Compatibility: You should choose herbs that have similar or complementary flavors and aromas, so they don’t clash or overpower each other. You can also group your herbs by theme, such as Italian, Asian, or medicinal.
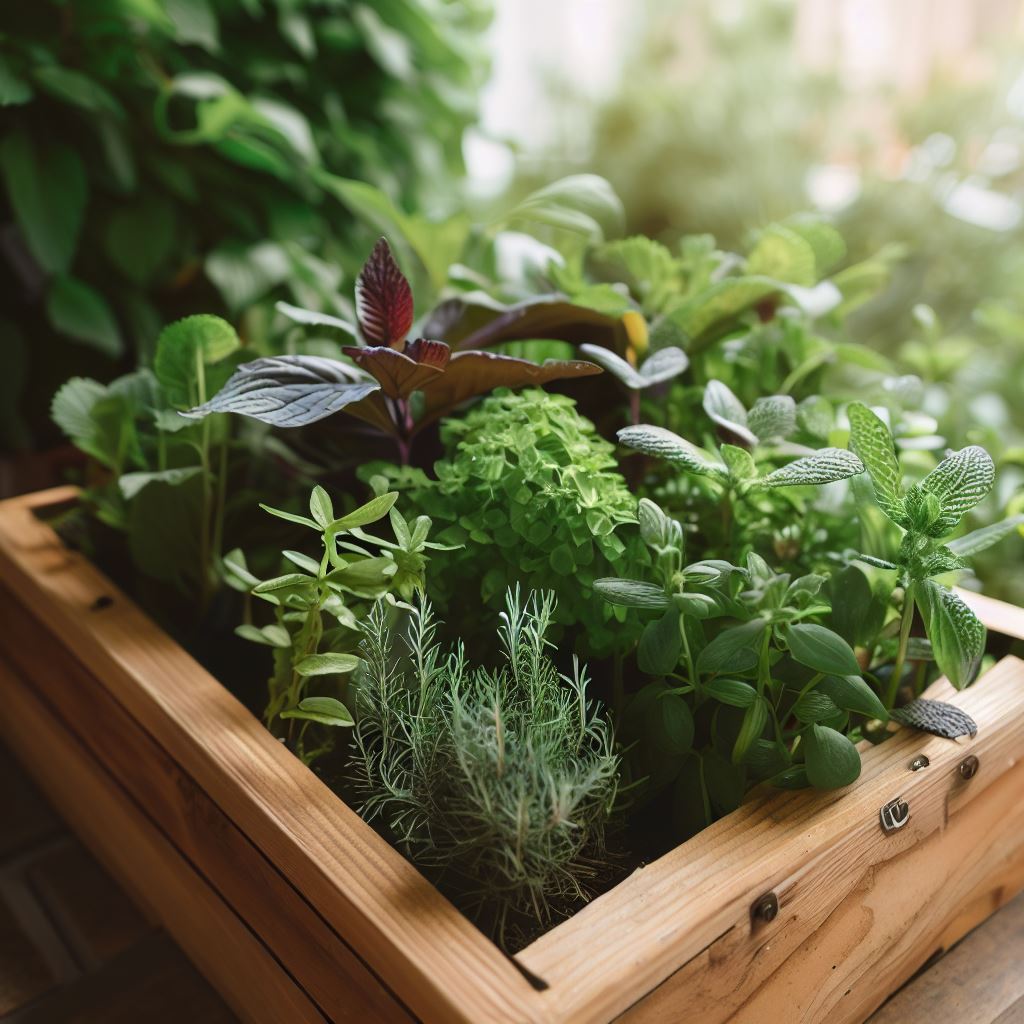
Step 5: Plant the herbs
The next step is to plant the herbs in the crate. You can buy herb plants from any garden center or online store, or you can grow your own from seeds or cuttings. You should choose healthy and vigorous plants that have no signs of disease or pests.
To plant the herbs, you need to make holes in the soil with your fingers or a trowel. The holes should be slightly larger than the root balls of the plants. You should space the plants about 6 inches apart to allow room for growth. You can also arrange them in a pattern or a design that you like.
To transplant the plants, you need to gently remove them from their pots or trays. You should loosen the roots with your fingers or a fork to encourage them to spread out. You should place the plants in the holes and fill them with soil. You should press the soil firmly around the plants to eliminate air pockets and secure them in place.
Step 6: Water and care for the herbs
The final step is to water and care for your vintage milk crate herb garden. You should water your herbs immediately after planting them to help them settle in. You should water them again when the top inch of the soil feels dry to the touch. You should avoid overwatering or underwatering your herbs, as both can cause problems like root rot or wilting.
You should also fertilize your herbs once a month with an organic fertilizer that is suitable for container plants. You should follow the instructions on the label and apply the fertilizer according to the dosage and frequency recommended. You should avoid overfertilizing or under-fertilizing your herbs, as both can cause problems like nutrient deficiency or toxicity.
You should also prune or harvest your herbs regularly to keep them healthy and productive. You should remove any dead, diseased, or damaged parts of the plants with a sharp pair of scissors or a knife. You should also pinch off any flowers or buds that form on your herbs, as they can reduce the flavor and quality of the leaves.
You can harvest your herbs anytime you need them for cooking, tea, or medicine. You should cut off only what you need and leave enough foliage for the plants to recover. You can use your fresh herbs right away or store them in a plastic bag in the refrigerator for up to a week.
Benefits
Creating a vintage milk crate herb garden is not only fun and easy, but also rewarding and beneficial. Here are some of the reasons why you should try it:
- It saves space: A vintage milk crate herb garden is ideal for small spaces like balconies, patios, windowsills, or kitchens. It doesn’t take up much room and can be moved around easily.
- It adds beauty: A vintage milk crate herb garden is a great way to add some color and charm to your home or garden. It creates a rustic and cozy atmosphere that enhances any decor.
- It improves health: A vintage milk crate herb garden provides you with fresh and organic herbs that are rich in vitamins, minerals and antioxidants
A vintage milk crate herb garden is a wonderful project that can bring you many benefits. You can enjoy the beauty, flavor, and health of fresh herbs in a small and convenient space. You can also express your creativity and personality by choosing your own crate, herbs, and design.
Happy gardening!