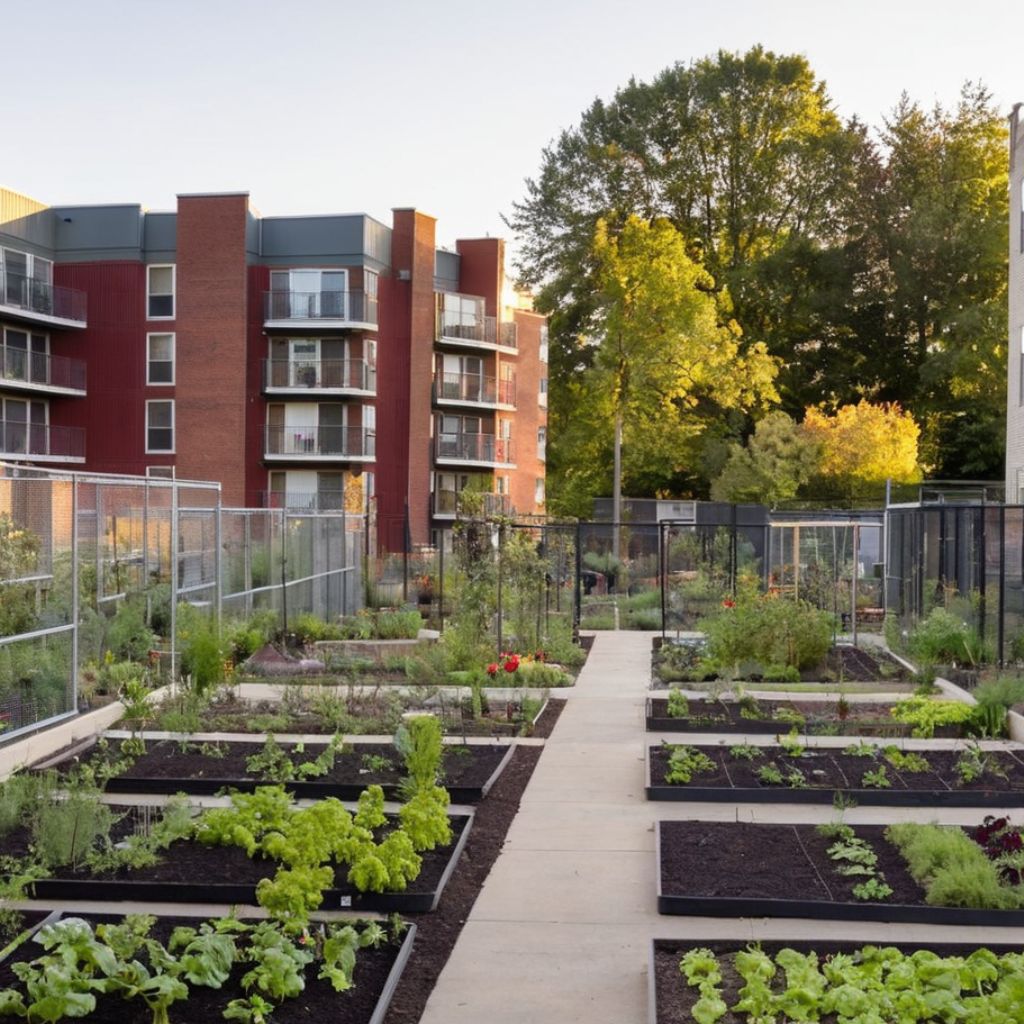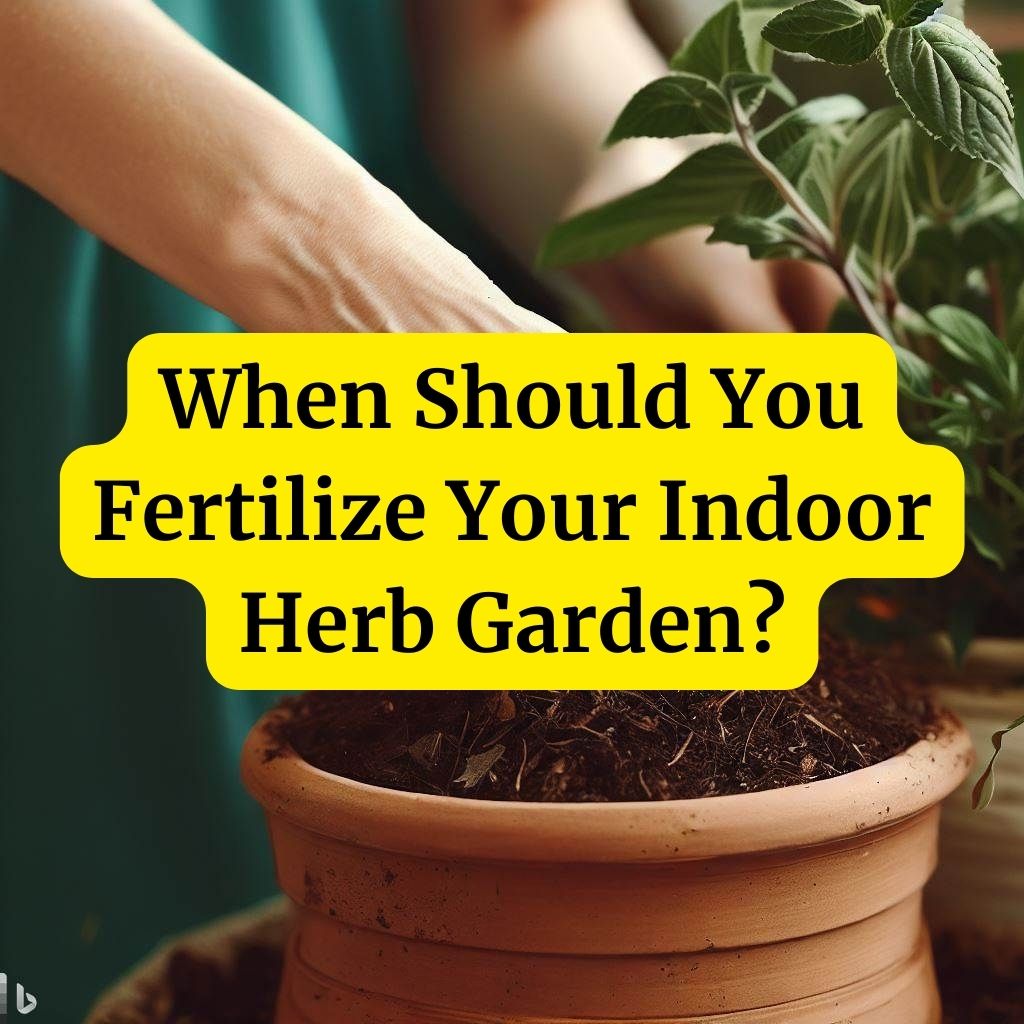
Fertilizers can be a game-changer for your indoor herb garden. Learning how and when to fertilize your indoor garden and potted plants can be a little tricky as a beginner. For edible indoor herbs, veggies, and smaller potted plants, natural plant fertilizers that include liquid humus, composted manures, seaweed, etc. are good choices. Fertilize herbs with a low dose of water-soluble fertilizer every two weeks.
In this article
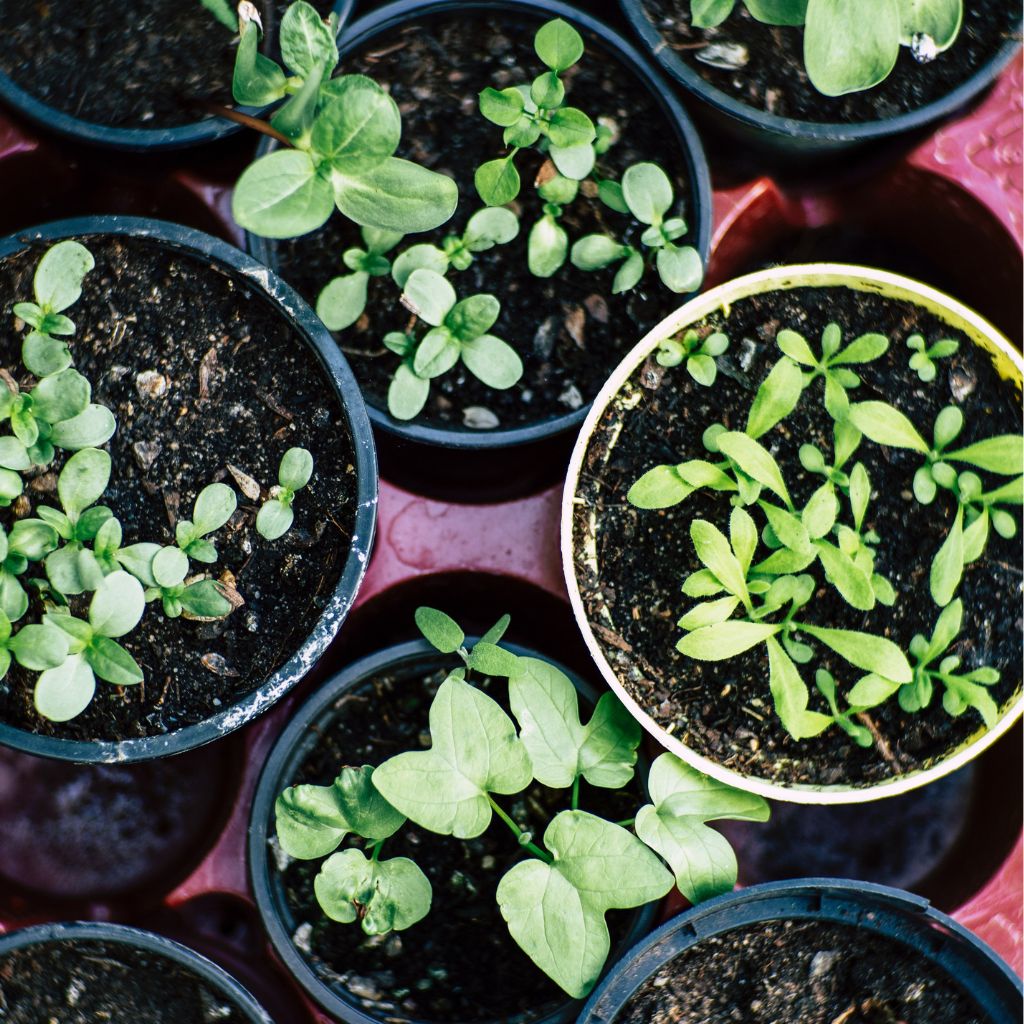
When to Start Fertilizing Herbs
Supermarket Herbs
We’ve all been guilty of picking up a pot of herbs from the supermarket with grand plans of herbaceous abundance. However, these store-bought herbs often come with depleted nutrients. They’ve been through a lot on their journey to your cart, and a dose of fertilizer can work wonders. Start fertilizing them as soon as you bring them home and watch them perk up with gratitude.
Nursery-Bought Herbs
Nursery-bought herbs, while healthier than their supermarket counterparts, can also benefit from some extra nourishment. Begin fertilizing these plants about a month after bringing them into your indoor garden. This delay allows them to acclimate to their new environment before introducing additional nutrients.
Growing Herbs from Seedlings
If you’re starting from scratch with seedlings, patience is key. Seedlings have their own nutrient stores to kickstart growth, so hold off on fertilizing until they have their first true leaves. Once they reach this milestone, introduce a mild, balanced fertilizer to support their journey to maturity.
Understanding Micronutrients in Herb Fertilizers
Micronutrients, often referred to as trace elements, are essential components for the optimal growth and development of plants. These are like the vitamins of the plant world, required in relatively small quantities but with critical functions that contribute to overall plant health and vitality. Among the key micronutrients crucial for plant growth are iron, zinc, copper, and manganese.
- Iron: Iron is indispensable for plants as it plays a pivotal role in chlorophyll production. Chlorophyll is the green pigment found in plant cells, which is essential for photosynthesis, the process by which plants convert sunlight into energy. Without sufficient iron, plants can develop chlorosis, a condition in which leaves turn yellow due to a lack of chlorophyll, leading to stunted growth and reduced vigor.
- Zinc: Zinc is another micronutrient that is vital for various plant functions. It is involved in enzyme activity, DNA synthesis, and hormone regulation. Zinc deficiency can result in stunted growth, distorted leaves, and impaired flower and fruit development.
- Copper: Copper is essential for a range of processes within the plant, including lignin formation, photosynthesis, and enzyme activation. A lack of copper can lead to wilting, browning of leaf tips, and reduced plant resilience to stressors.
- Manganese: Manganese is required for chlorophyll production and acts as an enzyme activator in various metabolic processes. A manganese deficiency can manifest as interveinal chlorosis, where the tissue between the veins of leaves turns yellow, impacting photosynthesis and overall plant vitality.
When choosing a fertilizer for your plants, whether they are herbs or any other type of vegetation, it’s essential to select one that includes these micronutrients. This ensures that your plants have access to a complete range of essential nutrients, promoting robust growth and overall health.
Fertilizers that are labeled as “complete” or “balanced” often contain these micronutrients in addition to the more common macronutrients like nitrogen, phosphorus, and potassium. These balanced fertilizers help prevent deficiencies and imbalances in your plants, ensuring they receive all the necessary components for thriving.
While we often focus on macronutrients when nourishing our plants, the micronutrients like iron, zinc, copper, and manganese are equally vital. They are the unsung heroes that keep your herbs and other plants healthy and thriving.
Establishing a Fertilization Schedule for Indoor Herbs
Creating a consistent fertilization schedule is crucial for herb garden success. The frequency of fertilization depends on the type of fertilizer you choose, but a general rule of thumb is to apply a diluted, balanced liquid fertilizer every 4-6 weeks during the growing season.
The Dangers of Overfertilization in Indoor Herb Gardens
While providing nutrients to your herbs is essential, overfertilization can be detrimental. Let’s explore common mistakes to avoid:
Applying Fertilizer Too Early
Impatience can lead to overfertilization. Applying fertilizer before your herbs have acclimated to their new home can shock their delicate systems. Give them time to settle in before introducing fertilizer.
Avoiding Fertilization of Seedlings
Seedlings are tiny, but they’re not exempt from nutrient needs. Neglecting to fertilize them can stunt their growth. Remember, start fertilization when they develop their first true leaves.
Following Incorrect Application Instructions
Always follow the application instructions on your fertilizer’s packaging. Overdosing or underdosing can lead to problems. A little goes a long way when it comes to herb fertilization.
Using Strong Fertilizers Unwisely
Some fertilizers are potent and using them recklessly can result in herb burnout. Choose a mild, balanced fertilizer for your herbs, especially if you’re a beginner.
Attempting to Revive Herbs with Excessive Fertilization
When your herbs are looking sad and droopy, it’s tempting to drown them in fertilizer, hoping for a miraculous recovery. However, this can be a death sentence. Focus on addressing the underlying issues, like inadequate light or improper watering, before resorting to excessive fertilization.
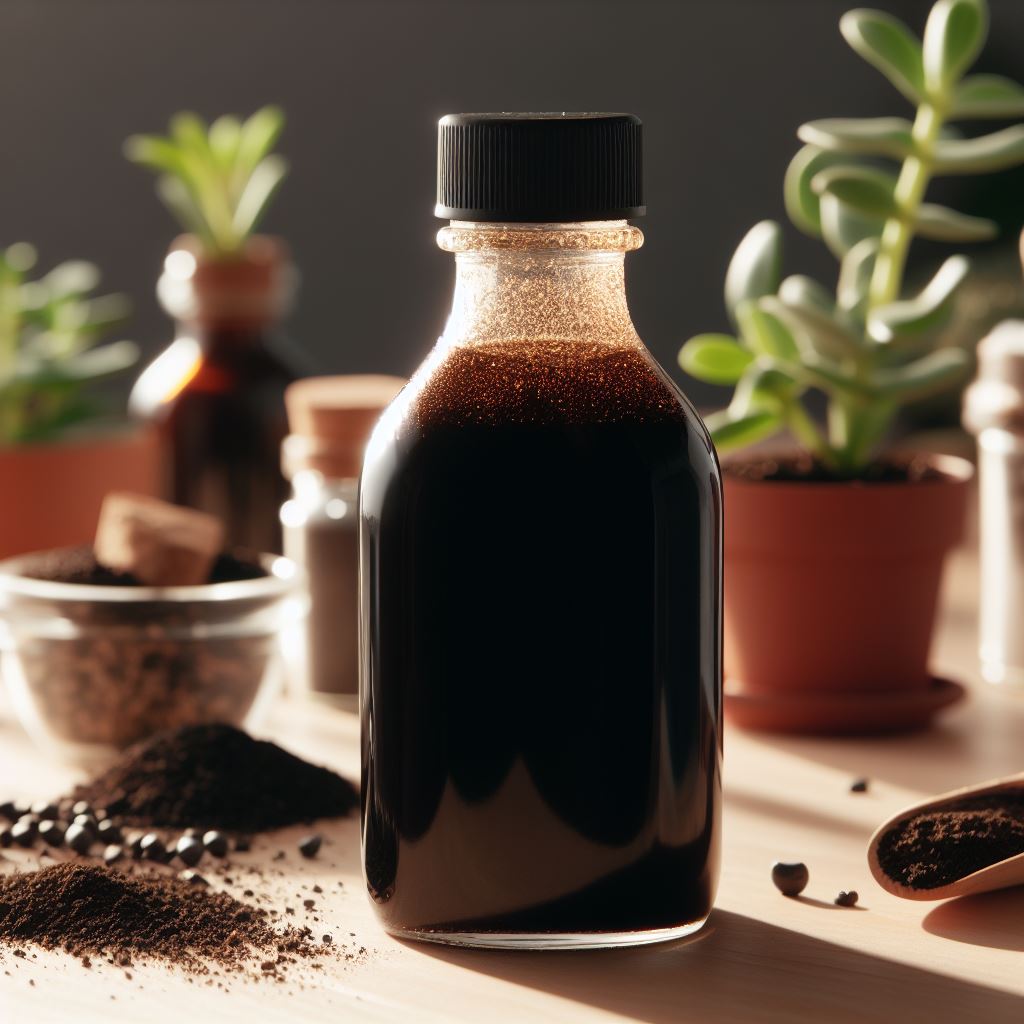
Make a Homemade Liquid Fertilizer Using Kitchen Scraps
Did you know, you can also repurpose kitchen scraps for fertilization? Coffee grounds, eggshells, and even banana peels can be transformed into nutrient-rich concoctions for your herbs.
Repurposing kitchen scraps for homemade, sustainable fertilizers is an environmentally friendly and cost-effective way to nourish your herbs and other plants. Not only does this reduce waste, but it also provides a nutrient-rich solution that promotes plant growth.
Here’s a step-by-step guide on how to create a DIY fertilizer using coffee grounds, eggshells, and banana peels:
Gather these kitchen scraps:
- Coffee grounds: Rich in nitrogen, coffee grounds are excellent for green, leafy herbs.
- Eggshells: Eggshells are a good source of calcium, which is vital for many plants.
- Banana peels: Banana peels contain potassium, an essential nutrient for flowering and fruiting plants.
- Blender or food processor
- Water
Preparation and Application:
1. Collect and Prepare the Kitchen Scraps:
- Start by collecting your kitchen scraps. Ensure that the coffee grounds have been used and dried, and the eggshells and banana peels are clean.
- If using eggshells, rinse them to remove any remaining egg whites and let them air dry. Once dry, crush them into small pieces for easier blending.
2. Blend into a Fine Paste:
- Place the collected kitchen scraps (coffee grounds, crushed eggshells, and banana peels) into a blender or food processor.
- Blend them until they form a fine, uniform paste. The consistency should be similar to a thick smoothie.
3. Mix with Water:
- Transfer the paste into a container, preferably a plastic or glass one with a lid.
- Add water to the paste, gradually stirring to achieve the desired consistency. You want it to be thin enough to pour but thick enough to adhere to the soil when applied. A 1:4 ratio of paste to water often works well as a starting point, but you can adjust based on your plant’s needs.
4. Application:
- Use your homemade kitchen scrap fertilizer as you would any other liquid fertilizer. Water your herbs or plants as you usually do, and simply replace one of your regular watering sessions with this homemade mixture.
- Be sure to apply the fertilizer around the base of the plants to avoid wetting the leaves, which can lead to fungal issues.
5. Monitor and Adjust:
- Keep an eye on your plants’ progress. If you notice any adverse effects, like burning or wilting, dilute the fertilizer further with water for the next application.
- You can use this homemade fertilizer every two to four weeks during the growing season. Adjust the frequency based on the specific requirements of your herbs and the results you observe.
6. Storage:
- Store any excess homemade fertilizer in a cool, dark place, ideally in the refrigerator. This will help prevent the growth of mold or bacteria.
Please note that this is just one recipe for making homemade fertilizers using kitchen scraps. There are several other recipes available online that you can try out as well:
- Balcony Garden Web has a list of 15 DIY fertilizer recipes that you can make using food scraps and kitchen leftovers. The recipes include banana peel fertilizer, powdered eggshell fertilizer, bone meal, fish fertilizer, onion fertilizer, coffee grounds, and more.
- Mindbodygreen provides a recipe for making a liquid plant food using baking powder, Epsom salts, and ammonia.
- Grow and Make has a recipe for making liquid fertilizer at home using pureed scraps, Epsom salt, and ammonia.
By repurposing kitchen scraps into nutrient-rich concoctions, you not only support your plants but also reduce waste and contribute to a more sustainable gardening practice. This eco-friendly approach to fertilization allows you to provide essential nutrients to your herbs while promoting responsible resource usage in your gardening endeavors.
Remember that nurturing an indoor herb garden is as much an art as it is a science. It requires patience, observation, and a touch of green-thumb magic.
Frequently asked questions
Can I use regular garden fertilizer for my indoor herbs?
While you can, it’s better to use a fertilizer specifically formulated for indoor herbs. They contain the right balance of nutrients without overwhelming your plants.
How do I know if my herbs need more fertilizer?
Keep an eye on your herb’s growth and color. If they start to look pale or growth slows down, it might be time for a gentle fertilizer boost.
Can I use compost as a fertilizer for my indoor herbs?
Compost is an excellent choice, but it should be well-rotted and mixed with other potting soil. Using pure compost can be too rich for indoor herbs.
Are kitchen scraps like coffee grounds safe as herb fertilizers?
Yes, kitchen scraps like coffee grounds can be great fertilizers when used in moderation. They add organic matter and nutrients to the soil.
Should I fertilize my herbs during the winter months when they’re not actively growing?
Herbs tend to have slower growth during the winter. Reduce the frequency of fertilization but don’t
Whether you’re a seasoned herb enthusiast or just dipping your fingers into the green realm, understanding when and how to fertilize your indoor herbs will elevate your gardening game. So, go ahead, sprinkle that fertilizer, and watch your indoor herb garden flourish with flavor, aroma, and a touch of your own expertise.
Happy gardening!