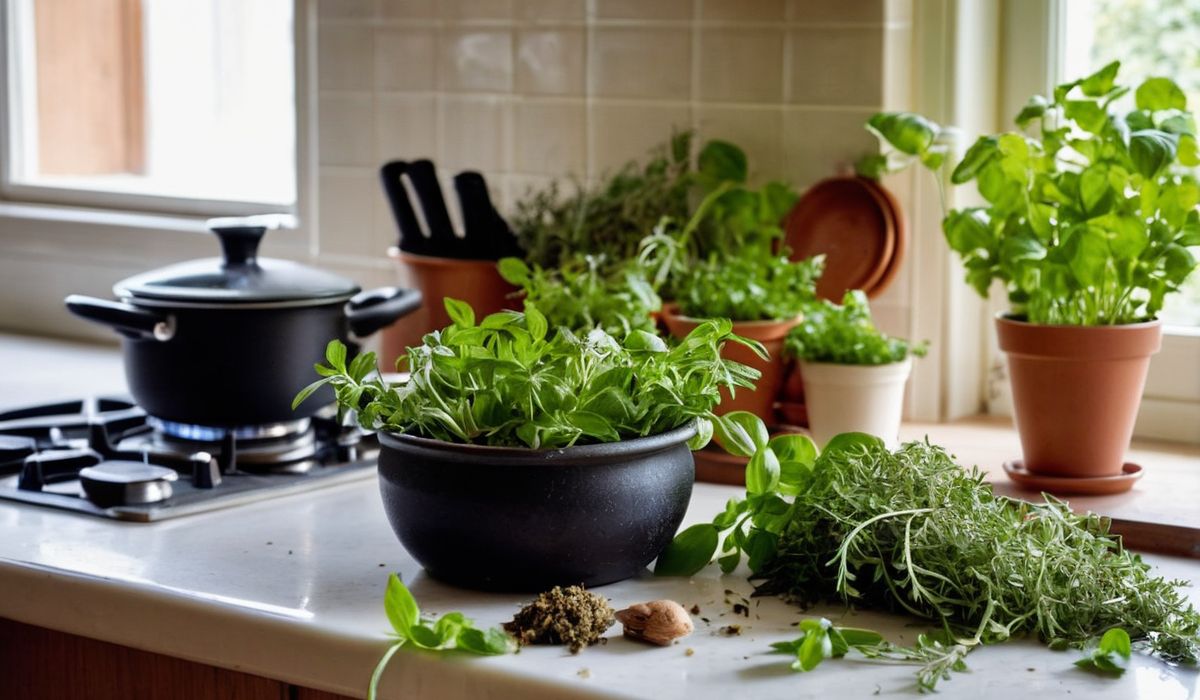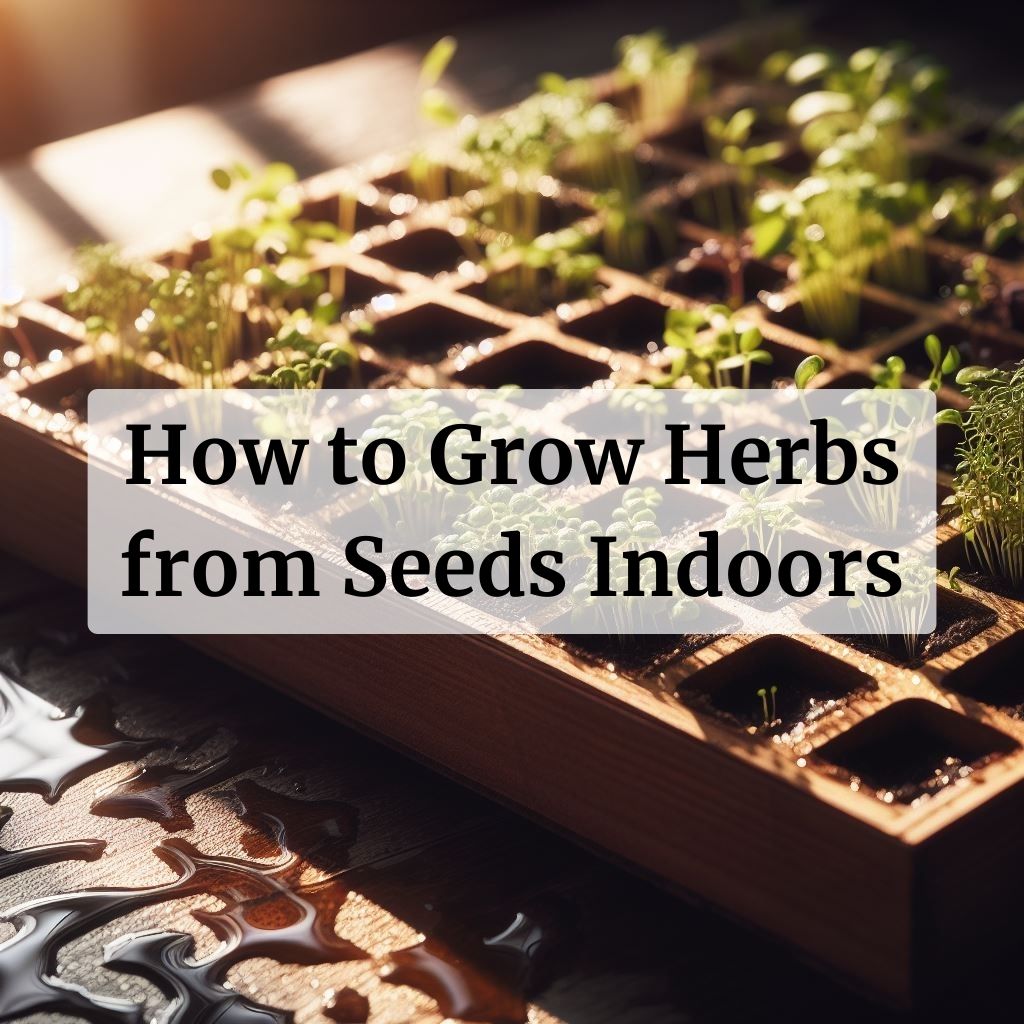
Growing herbs from seeds indoors is a rewarding and cost-effective way to ensure a fresh supply of flavorful herbs for your culinary creations. In this article, we will provide you with a comprehensive guide on how to successfully grow herbs from seeds indoors, from choosing the right seeds to caring for your seedlings and ultimately harvesting your homegrown herbs.
Contents
Choosing the Right Seeds
When starting an indoor herb garden from seeds, it’s essential to choose the right seeds for your growing conditions and culinary needs. Here are some tips on selecting the best herb seeds for your indoor garden:
- Consider Your Growing Space: Assess the amount of light your indoor space receives. Some herbs, like basil and dill, thrive in full sun, while others, such as mint and chives, can tolerate partial shade. Choose herb seeds that align with the light conditions in your home.
- Culinary Preferences: Select herb seeds based on your culinary preferences. If you frequently use a specific herb in your cooking, such as basil or cilantro, prioritize those seeds for your indoor garden.
- Seed Quality: Opt for high-quality herb seeds from reputable suppliers. Look for seeds that are well-suited for indoor growing and have a high germination rate.
YOU MIGHT LIKE: Indoor Herb Gardens for Renters
Preparing the Soil
When growing herbs from seeds indoors, the right soil is crucial for the success of your herb garden. Here are some tips on preparing the soil for planting:
- Soil Composition: For indoor herb gardening, it’s recommended to use a quality potting or seed-starting soil. Average soils can be improved by adding peat moss, coconut husks, or compost to enhance drainage and nutrient levels.
- Soil Drainage: Herbs generally thrive in well-drained, neutral to alkaline soil. For optimal growth, ensure the soil has good drainage to prevent waterlogging, which can be achieved by adding organic matter to the soil.
- Soil pH and Nutrients: Test the soil’s pH and nutrient levels before planting. Most herbs prefer a neutral pH and average nutrient levels. If the soil’s pH, nutrients, or drainage aren’t ideal, simple amendments can be made to modify the soil and prepare it for herb seed planting.
Planting Your Herb Seeds
Here’s a step-by-step guide on how to plant herb seeds in a seed-starting flat or container:
- Seed-Starting Flat or Container: Choose a seed-starting flat or container with drainage holes to prevent waterlogging. Fill the flat or container with a pre-moistened, soilless seed-starting mix, leaving a small gap at the top.
- Sowing the Seeds: Sow the herb seeds lightly and evenly across the surface of the soil. Gently press the seeds into the soil, ensuring they make good contact for germination.
- Covering the Seeds: Once the seeds are sown, cover them lightly with a thin layer of the seed-starting mix. This layer should be no more than twice the thickness of the seeds.
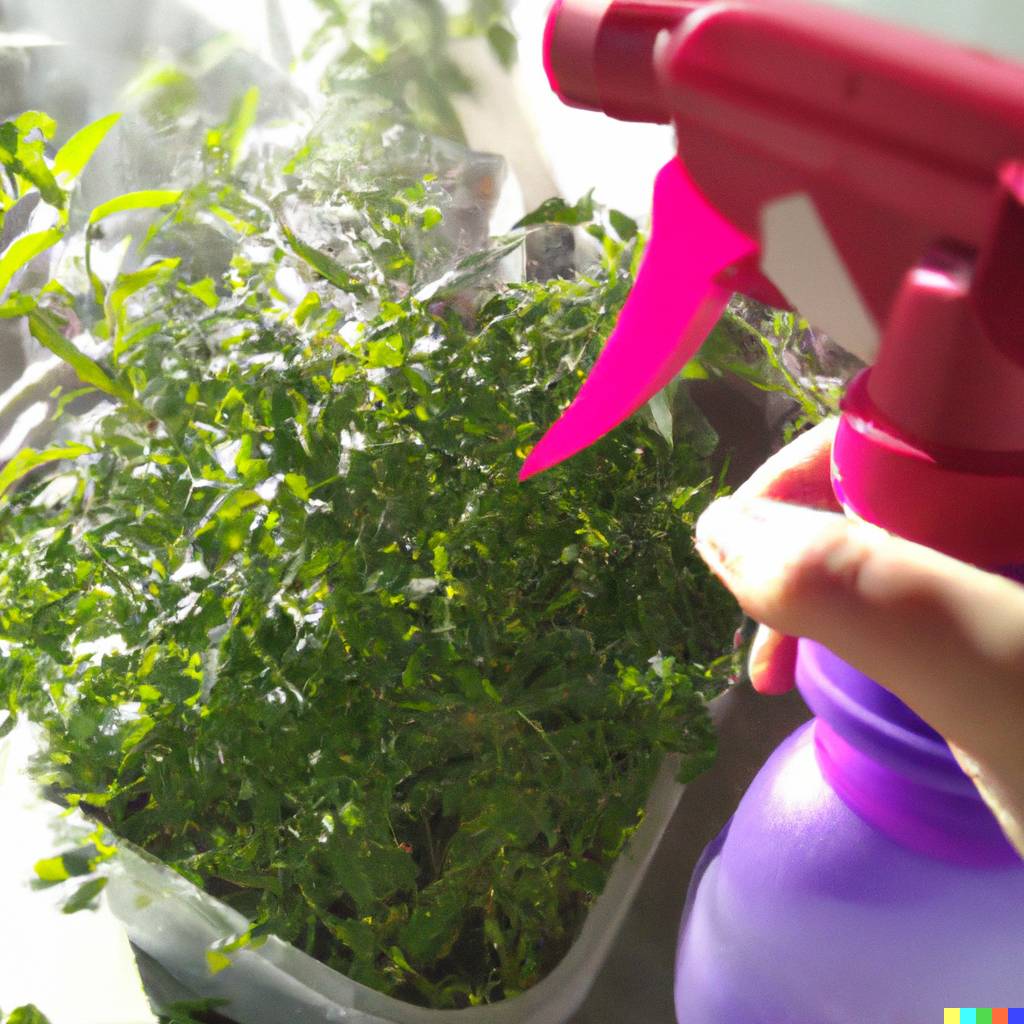
- Moistening the Soil: Using a spray bottle, moisten the soil surface to ensure the seeds are in contact with the moisture they need for germination.
- Providing Light and Warmth: After planting, place the seed-starting flat or container in a warm location with indirect light. Most herb seeds require consistent warmth and moisture to germinate, so maintaining a stable environment is crucial.
Caring for Your Plant Seedlings
When caring for herb seedlings, it’s essential to pay close attention to watering, lighting, and temperature to ensure their healthy growth. Here are some tips on how to care for your herb seedlings as they grow:
- Watering: Herbs generally grow best in well-drained soil and develop their most intense flavor if they’re kept on the dry side. Water the soil regularly, especially when the seedlings have just been planted, and always water the soil and not the foliage to prevent issues like mold and mildew.
- Lighting: Most herbs require plenty of sunlight to thrive. If you’re growing herbs indoors, ensure they receive adequate light. Consider using grow lights to supplement natural light if needed, especially during the winter months when daylight hours are shorter.
- Temperature: Maintain a stable and warm environment for your herb seedlings. Most herb seeds require consistent warmth and moisture to germinate, so it’s important to keep the temperature within the optimal range for the specific herbs you are growing.
Transplanting Your Herb Seedlings
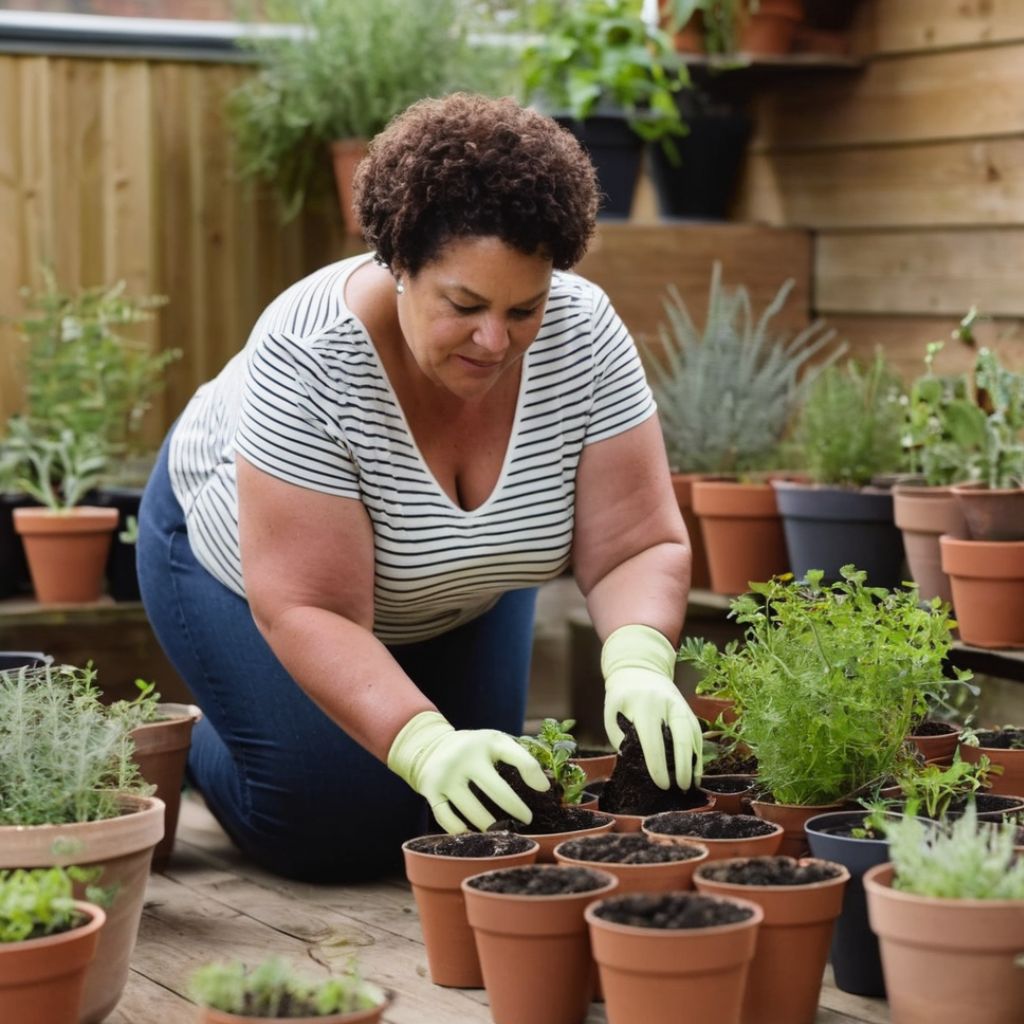
Here’s a guide on when and how to transplant your herb seedlings, along with tips for a successful transplant:
- Timing: Herb seedlings are typically ready for transplanting when they have developed their second set of leaves, known as “true leaves.” This stage is usually reached 5-6 weeks after the seeds were initially planted.
- Container Size: Choose a larger container for transplanting, ensuring it has proper drainage. For single plants, 6”-8” pots are suitable, while 10” and larger pots can accommodate multiple plants.
- Transplanting Process: Gently remove the seedlings from their original containers, being careful not to damage the delicate roots. Place the seedlings in the new containers, ensuring they are at the same depth as they were in the original containers.
- Soil and Watering: Use a high-quality potting mix in the new containers and water the seedlings immediately after transplanting. Good drainage is essential for many herbs, so ensure the new containers have drainage holes.
Harvesting Your Herbs
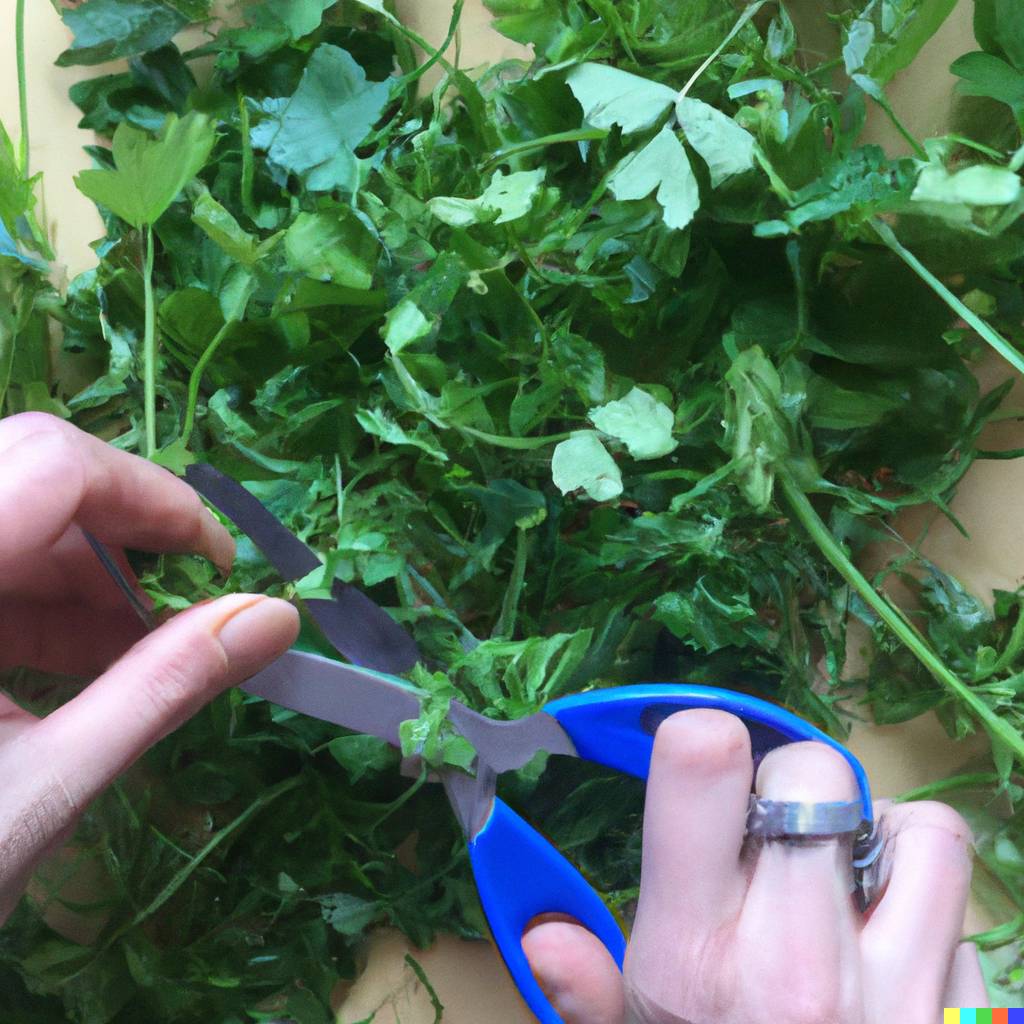
Here’s when and how to harvest your herbs, along with tips for a bountiful harvest:
- Timing: Herbs can be harvested once they have reached a sizeable and mature state. It’s best to harvest them in the morning when their essential oils are at their peak.
- Harvesting Method: When harvesting, use clean, sharp scissors or shears to snip the stems just above a set of leaves. This method encourages healthy growth and ensures a bountiful harvest.
- Harvesting Frequency: Follow the golden rule of harvesting and never cut more than a third of a plant at a time. Give your herb time to bounce back so that you can return for more harvests in the future.
By following the steps outlined in this article, you can successfully start and maintain an indoor herb garden.
Frequently Asked Questions
Can I harvest my herbs during the winter months?
Absolutely! Indoor herb gardens provide the perfect opportunity to enjoy fresh herbs year-round, including during the winter.
What should I do if my herbs start to flower?
Pinch off the flowering stems as soon as you notice them. This redirects the plant’s energy into producing more leaves and prevents the flavor from becoming bitter.
Is it possible to grow multiple herb varieties in the same container?
Yes, you can grow multiple herb varieties in a single container, but be mindful of their growth habits and ensure they have similar water and light requirements.
How long do indoor herbs typically live?
With proper care, many indoor herbs can thrive for several years. However, some herbs are naturally short-lived, so you may need to replace them over time.
What can I do with excess harvested herbs?
You can dry or freeze excess herbs for later use. Drying is particularly popular for herbs like rosemary and thyme, while freezing works well for basil and cilantro.
Happy gardening!