
When planting a window herb box, it’s essential to choose the right spot that receives at least six hours of sunshine a day for the plants to thrive. Additionally, it’s important to select a windowsill that receives enough sunlight, ideally situated in the kitchen for easy access to the herbs when needed. It’s also recommended to use repetition in planting, choose a focal point, think about texture, and take cues from the landscape when designing the window box.
In this article
Step 1: Half-fill the window box with herb potting mix
The first step in planting a window herb box is to half-fill the box with herb potting mix. This will provide a good base for your herbs to grow in. It’s important to note that you should not put stones or gravel at the bottom of the box, as this can block drainage holes. Instead, focus on creating a good potting mix that will provide the necessary nutrients for your herbs to grow.
When filling the box, place the herb (still in its pot) to check the final planting height, which should be about 3cm from the top. This will ensure that your herbs have enough room to grow without being overcrowded.
Step 2: Replant your herb into the box
Once you have half-filled the box with potting mix, it’s time to replant your herbs. Start by easing the sweet basil out of the pot by first squeezing the pot and then tilting it upside down (with your fingers protecting the plant) so that the root ball slides out of the pot. Do not pull the plant out of the pot as this could damage its roots.
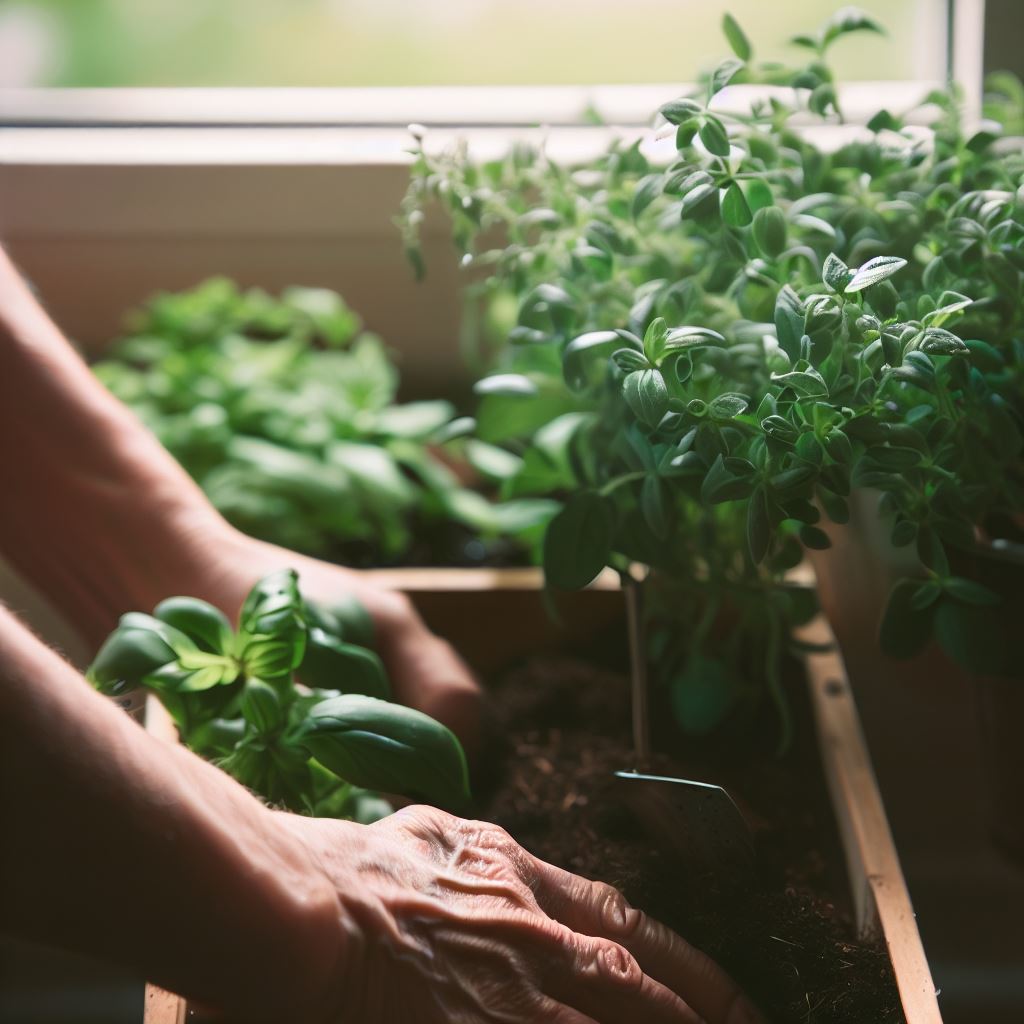
Step 3: Fill in with the other herbs
After replanting your sweet basil, it’s time to fill in the box with the other herbs. Take them out of their pots and position them in the planter, with low growing herbs (mint, nasturtium) on the outer edges so that they can trail over the side. This will create a beautiful and functional window herb box.
Step 4: Fill in with potting soil
Once the herbs are in place, fill in with potting soil, making sure that the plant is at the same level in the container as it was in the pot. Firm the soil around the plants and water gently to settle the soil. This will ensure that your herbs have a good foundation to grow in.
Step 5: Top up the soil once it has settled
After you have watered the soil, you may see that the soil has subsided. Top up with potting soil where necessary to create an even layer of potting soil. This will ensure that your herbs have enough soil to grow in and will prevent them from becoming root-bound.
Tips and Advice
Now that you know the steps to planting a window herb box, here are some tips and advice to ensure your herbs thrive:
- Choose the right herbs: When choosing herbs for your window herb box, make sure to choose herbs that will thrive in your climate and that you will actually use in your cooking.
- Water regularly: Herbs need regular watering to thrive. Make sure to water your herbs when the soil feels dry to the touch.
- Provide enough light: Herbs need plenty of light to grow. Make sure to place your window herb box in a sunny spot, such as a south-facing window.
- Fertilize regularly: Herbs need regular fertilization to thrive. Use a balanced fertilizer every two weeks to provide your herbs with the necessary nutrients.
Planting a window herb box is a great way to have fresh herbs on hand for your cooking. By following the steps outlined in this article and following the tips and advice provided, you can ensure that your herbs thrive.
Happy gardening!