Yellowing leaves, wilting stems, and dying plants are common issues that many indoor gardeners face. In this article, we’ll explore the reasons why your indoor herbs might be dying or turning yellow and provide tips on how to rescue them.
In this article
- 1 17 Reasons Why Indoor Herb Plant Leaves Turn Yellow
- 2 Drainage Problems
- 3 Your Soil Mix Isn’t Right
- 4 Underwatering and Overwatering Causes Herbs to Turn Yellow
- 5 How to Save Yellowing Herbs
- 6 Too Much or Not Enough Sunlight
- 7 Nutrient Poor Soil Can Cause Herb Leaves to Yellow
- 8 Can You Eat Yellow Herb Leaves?
- 9 Solutions to the Problem
17 Reasons Why Indoor Herb Plant Leaves Turn Yellow
- You’ve got drainage or water problems: Insufficient drainage or overwatering can lead to root issues, causing herb leaves to yellow.
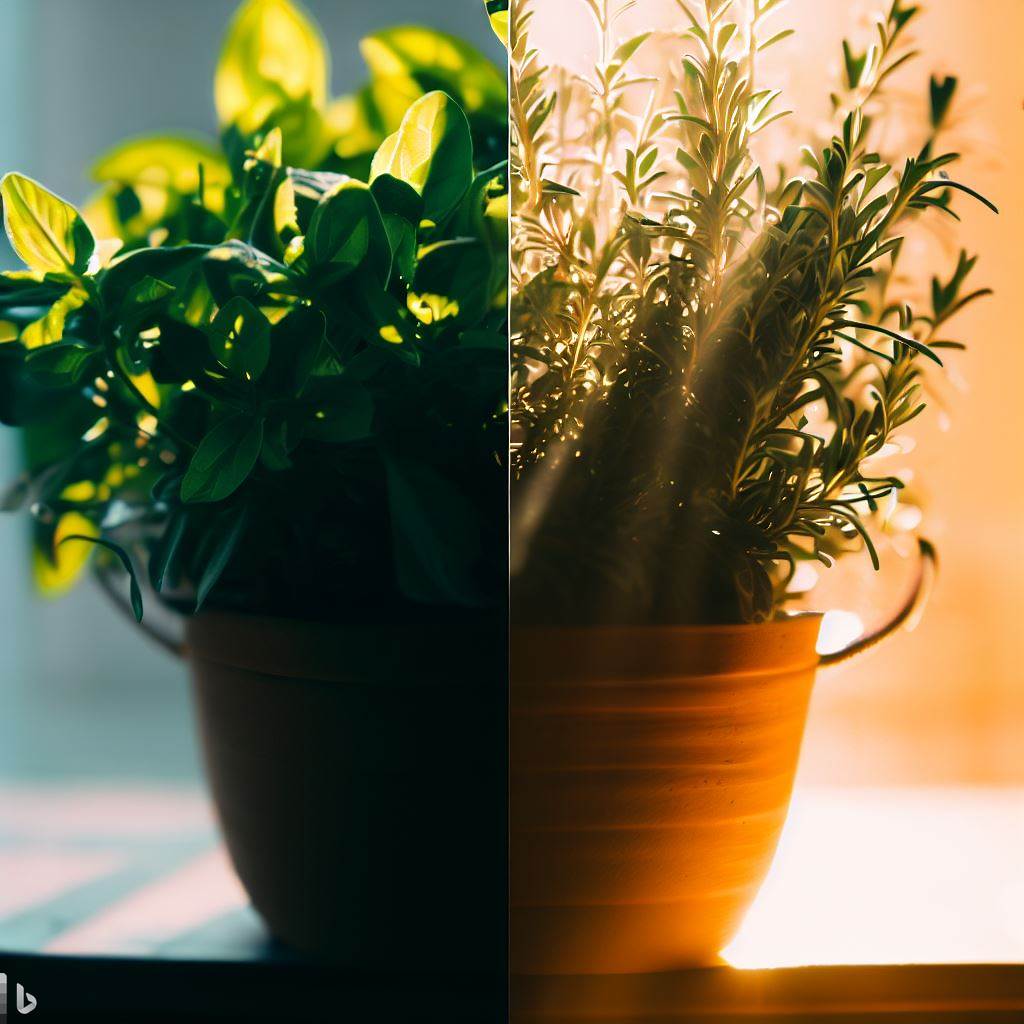
- Too much or not enough sunlight: Herbs require the right balance of sunlight. Excessive exposure can scorch leaves, while insufficient light can lead to pale, yellowing foliage.
- Not enough humidity: Indoor air can be dry, stressing your herbs. Boost humidity with water trays or a humidifier.
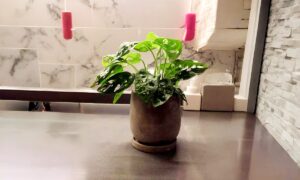
- The herb container is too small: Limited space can stunt herb growth and result in yellowing leaves.
- The herb container is too large: Conversely, oversized containers can trap excess moisture, causing root problems and leaf discoloration.
- The herbs are overcrowding in the container: Herbs need room to thrive. Overcrowding can lead to competition for nutrients and sunlight, resulting in yellow leaves.
- Your soil mix isn’t right: Herbs thrive in well-draining soil. An unsuitable mix can lead to poor root health and yellowing leaves.
- Overcrowding is a killer: Overcrowding not only limits space but also airflow, promoting fungal growth and yellowing leaves.
- Your herbs need fertilizer: Nutrient deficiency can cause yellowing. Start a regular fertilization schedule with balanced fertilizer.
- You’re not harvesting right: Overharvesting can stress your herbs. Harvest no more than one-third of the plant at a time and use clean, sharp tools.
- You’re overwatering your herbs: Too much water can lead to root rot and yellow leaves. Water judiciously when the soil is dry to the touch.
- Your herbs are exposed to a cold draft: Sudden temperature drops, especially cold drafts, can shock your herbs, causing yellowing leaves.
- Your herbs have a viral infection: Viruses can spread among herbs, causing yellowing. Isolate affected plants to prevent further infection.
- Herbs are infested with pests and diseases: Aphids, mites, and fungal infections can lead to yellowing leaves. Regularly inspect and treat issues.
- Your herbs were repotted incorrectly: Transplant shock can stress herbs. Repot carefully to preserve the root system.
- You picked unhealthy seeds or seedlings: Starting with healthy plants is crucial. Choose robust seedlings or seeds from reliable sources.
- There’s nothing wrong with the herbs – this is just normal aging: Remember that some yellowing of older leaves is natural. Focus on overall plant health.
Drainage Problems
One of the primary culprits behind yellowing herb leaves is excessive moisture, leading to root rot and fungal diseases. The roots suffocate, unable to access the oxygen they need. This is particularly common when your herb pots lack proper drainage.
Solution: Ensure your herb containers have drainage holes. Use well-draining soil mix and water your herbs judiciously, allowing excess water to escape.
How to Save Yellow Herbs with Root Rot
If you suspect root rot in your herbs, act swiftly to salvage them:
- Repot your herbs: Gently remove the herbs from their pots and inspect the roots. Trim away any brown, mushy roots. Repot them in fresh, well-draining soil.
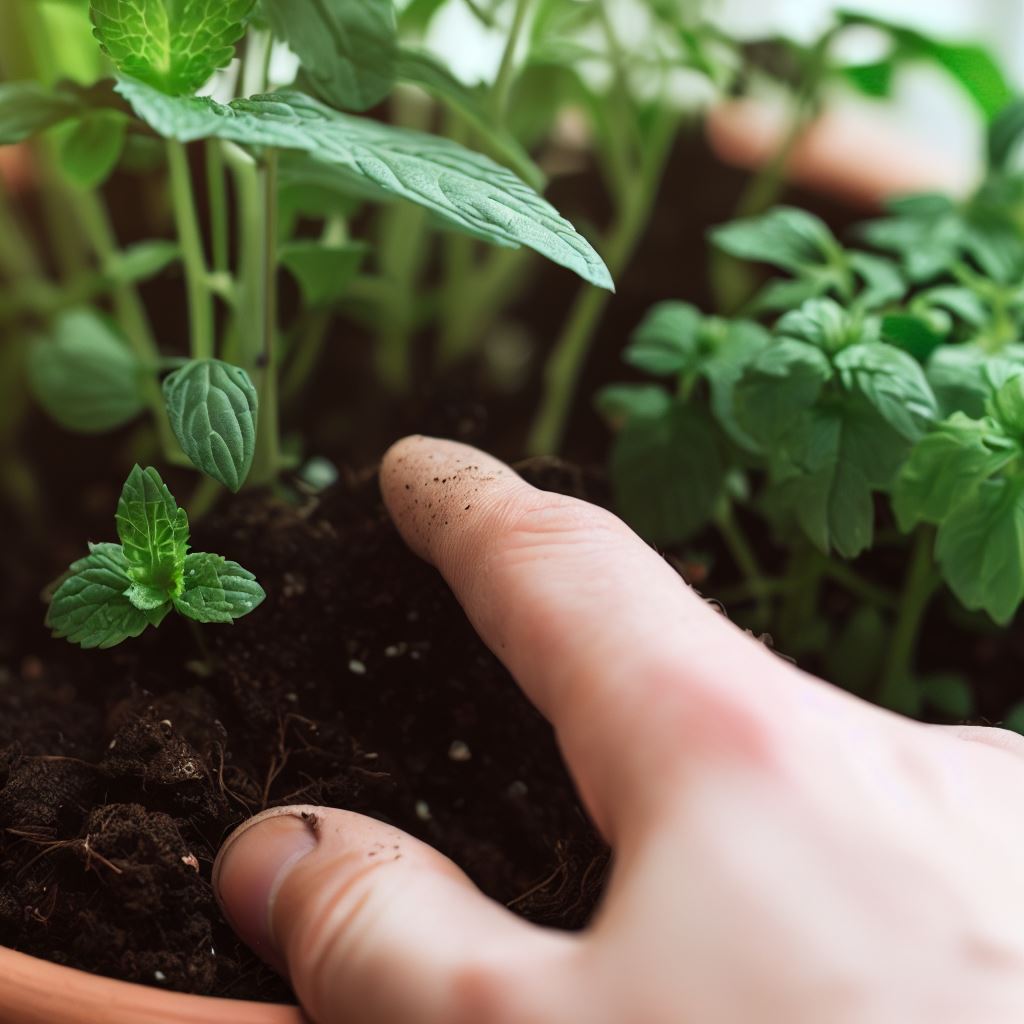
- Reduce watering: Allow the soil to dry out slightly between waterings. Stick your finger into the soil – if it’s dry about an inch deep, it’s time to water.
- Prune affected leaves: Trim the yellowing leaves to prevent the spread of disease.
Your Soil Mix Isn’t Right
Herbs thrive in well-aerated, well-draining soil. If your soil mix is too compact or doesn’t allow water to pass through effectively, it can lead to root issues and yellowing leaves.
Solution: Create the perfect soil mix for your indoor herbs by combining potting mix with perlite or sand to improve drainage.
Underwatering and Overwatering Causes Herbs to Turn Yellow
Ironically, underwatering can cause yellowing leaves. When your herbs don’t receive sufficient water, they can’t access essential nutrients, leading to wilting and discoloration.
Solution: Check the moisture level by sticking your finger into the soil. If it’s dry to the touch, it’s time to water. Adjust your watering schedule based on your herb’s specific needs.
How to Save Yellowing Herbs
If your herbs are already showing signs of distress, here’s how you can help them recover:
- Trim away yellow leaves: Prune any yellowing or dead leaves to encourage new growth.
- Adjust watering: Ensure your herbs receive adequate but not excessive water. Water the soil, not the leaves, to prevent fungal issues.
- Increase humidity: Indoor air can be dry, which can stress your herbs. Place a tray of water near your herb garden or use a humidifier to boost humidity levels.
Too Much or Not Enough Sunlight
Sunlight is like fuel for plants. While herbs love sunlight, too much direct exposure can scorch their leaves, turning them yellow. On the flip side, insufficient sunlight can also lead to pale, yellowing foliage.
Solution: Find the right balance. Herbs typically require at least 6-8 hours of indirect sunlight daily. Rotate your herb pots to ensure even exposure.
Nutrient Poor Soil Can Cause Herb Leaves to Yellow
Herbs, like all plants, need nutrients to thrive. If you haven’t been feeding your herbs, they might be suffering from nutrient deficiency, which manifests as yellowing leaves and stunted growth.
Solution: Start a regular fertilization schedule using a balanced, water-soluble fertilizer. Follow the instructions on the label to avoid over-fertilizing, which can harm your herbs.
Can You Eat Yellow Herb Leaves?
Now, the burning question – can you still use those yellowed herb leaves in your culinary endeavors? The good news is, in most cases, you can. While they might not be as visually appealing, the flavor is often unaffected. However, it’s best to remove the yellow leaves as they won’t contribute positively to your herb garden’s aesthetics.
Solutions to the Problem
Try Fertilizer
Fertilizing your indoor herbs can be a game-changer when it comes to combating yellowing leaves and promoting healthy growth. Herbs, like all plants, require a variety of essential nutrients to thrive. When these nutrients become depleted in the soil, your herbs may display signs of distress, such as yellowing leaves or stunted growth.
To effectively use fertilizer, it’s crucial to understand the specific nutrient requirements of your herbs:
- Nitrogen (N): Nitrogen is vital for leafy growth, which is a significant component of many herbs. A lack of nitrogen can result in pale, yellowing leaves. Herbs like basil, parsley, and cilantro, which produce abundant foliage, often have higher nitrogen requirements.
- Phosphorus (P): Phosphorus is essential for root development and flowering. If your herbs are not producing vibrant leaves or flowering as expected, a phosphorus deficiency could be the culprit.
- Potassium (K): Potassium aids in overall plant health and disease resistance. It plays a role in regulating water uptake, which is crucial for preventing water-related stress and leaf discoloration.
- Micronutrients: Herbs also need micronutrients like iron, magnesium, and calcium in smaller quantities. Deficiencies in these elements can manifest as various issues, including yellowing leaves.
Choosing the Right Fertilizer
When selecting a fertilizer for your indoor herbs, opt for a balanced, water-soluble fertilizer designed for indoor plants. These fertilizers typically contain a mix of the essential nutrients your herbs need.
How to Apply Fertilizer:
- Follow Instructions: Always read and follow the manufacturer’s instructions on the fertilizer label. Over-fertilizing can be harmful, so never exceed the recommended dosage.
- Fertilize During Growth: Herbs benefit most from fertilization during their active growing season, typically in spring and summer. Reduce or stop fertilizing in the dormant winter months.
- Dilute and Water: Dissolve the fertilizer in water and apply it to the soil, avoiding direct contact with the leaves. Water thoroughly after fertilizing to help nutrients reach the root zone.
Monitoring and Adjusting
After applying fertilizer, monitor your herbs closely. Healthy herbs will respond positively with lush, green growth. However, be cautious not to over-fertilize, as this can lead to nutrient imbalances or salt buildup in the soil. Signs of over-fertilization may include leaf burn or excessive, weak growth.
In cases where your herbs continue to exhibit yellowing leaves despite proper fertilization, consider consulting a local nursery or agricultural extension service. They can provide soil tests and specific fertilizer recommendations tailored to your indoor herb garden’s unique needs.
Incorporating a well-planned fertilization routine into your herb care regimen can significantly contribute to maintaining the vibrancy and health of your indoor herb garden, ensuring a bountiful harvest of flavorful, aromatic herbs for your culinary delights.
Troubleshoot Watering Issues
- The Finger Test: Stick your finger about an inch (2.5 cm) into the soil. If it feels dry at that depth, it’s time to water. If it’s still moist, hold off on watering for a bit.
- Proper Drainage: Ensure your herb pots have adequate drainage holes. Without proper drainage, excess water can accumulate at the bottom of the pot, leading to root rot and yellowing leaves. Elevate the pots slightly to allow water to escape freely.
- Avoid Overwatering: Overwatering is a common mistake that can lead to root suffocation and yellowing leaves. Remember that herbs prefer to dry out slightly between waterings. It’s better to underwater slightly than overwater.
- Water at the Base: When watering your herbs, aim to water the soil at the base of the plant, not the leaves. Wet foliage can encourage fungal diseases. Use a watering can with a narrow spout to direct water precisely where it’s needed.
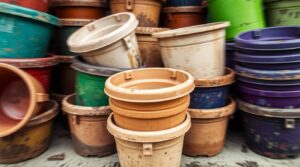
- Use the Right Container: Choose pots with the correct size for your herbs. Small pots can dry out quickly, requiring more frequent watering, while large pots may retain excess moisture. Adjust your watering frequency accordingly.
- Consider Self-Watering Systems: If you tend to forget about your herbs, self-watering pots can be a lifesaver. These pots have a reservoir that allows the plant to absorb water as needed, reducing the risk of overwatering.
- Monitor Seasonal Changes: Be mindful of seasonal variations in watering needs. Herbs may require more water during the warmer months when they’re actively growing and less during the dormant winter period.
- Check Soil Quality: Quality soil is crucial for proper water retention and drainage. Ensure your potting mix is well-draining but also retains enough moisture. Mixing in perlite or sand can improve drainage.
- Use a Saucer: Place a saucer or tray under your pots to catch excess water that drains out. This prevents water from pooling beneath the pot and damaging your furniture or flooring.
- Consistency Matters: Try to water your herbs at the same time each day. Consistency helps your herbs establish a routine and prevents fluctuations in soil moisture.
- Consider Terracotta Pots: Terracotta pots are porous and allow some moisture to evaporate through the sides, which can help prevent overwatering. However, they may require more frequent watering in hot, dry conditions.
- Don’t Panic Over Drooping: Sometimes, herbs may appear wilted or droopy even when the soil is adequately moist. This is usually temporary and can be due to factors like high temperatures. Check the soil moisture before assuming your herbs need water.
By following these ordered steps and paying close attention to your herbs’ moisture needs, you’ll be well on your way to preventing yellowing leaves and fostering a thriving indoor herb garden. Remember that practice makes perfect, and as you gain experience, you’ll become more adept at providing your herbs with the precise amount of water they require.
Check the Temperature
The ideal temperature for indoor herb cultivation can vary slightly depending on the specific herbs you’re growing, as some herbs have different temperature preferences. However, as a general guideline, most common indoor herbs thrive within a temperature range of 65°F to 75°F (18°C to 24°C).
Here are some temperature-related considerations for indoor herb gardening:
- Daytime Temperature: During the daytime, aim to maintain a temperature between 65°F to 75°F (18°C to 24°C). This range is comfortable for most herbs and allows for optimal growth.
- Nighttime Temperature: Many herbs appreciate a slight drop in temperature during the nighttime, simulating natural outdoor conditions. Nighttime temperatures of around 55°F to 65°F (13°C to 18°C) are generally suitable.
- Herb-Specific Preferences: Keep in mind that some herbs may have specific temperature preferences. For instance, basil and cilantro tend to prefer slightly warmer conditions, while mint and chives can tolerate cooler temperatures.
- Avoid Extremes: Avoid exposing your herbs to extreme temperature fluctuations, which can stress the plants. Sudden drops below 50°F (10°C) or prolonged exposure to temperatures above 80°F (27°C) can adversely affect herb growth.
- Use Grow Lights: If you’re growing herbs indoors and don’t have access to natural sunlight, consider using grow lights. These lights can help maintain consistent temperature conditions and provide the right spectrum of light for plant growth.
- Ventilation: Proper air circulation is crucial to prevent temperature and humidity imbalances. Use fans or open windows periodically to ensure fresh air circulates around your herbs.
Remember that while temperature is important, it’s just one factor in herb cultivation.
Ensure the Lighting is Right
If your herbs aren’t receiving enough light, consider supplementing with artificial lighting, such as grow lights, to provide the necessary illumination for healthy growth.
In conclusion, maintaining a thriving indoor herb garden can be incredibly rewarding, but it also comes with its share of challenges. Yellowing leaves can be a distressing sight, but armed with the knowledge of the various causes and solutions, you can nurse your herbs back to health.
Remember to pay attention to factors like watering, sunlight, soil quality, and potential pests or diseases. By creating the optimal environment for your herbs and addressing issues promptly, you’ll soon be back to enjoying the bountiful flavors and aromas of your indoor herb garden.
Throughout this article, we’ve explored the multitude of reasons why indoor herb leaves turn yellow, ranging from improper watering and lighting conditions to issues with soil quality, overcrowding, pests, and diseases. Understanding these factors is the first step toward resolving them and rejuvenating your beloved herbs.
Happy Gardening!