Turmeric is a versatile, healing root that is fun and rewarding to cultivate at home. With the right varieties, setup and care, you can enjoy a steady supply of this spice all year from your windowsill garden.
Turmeric belongs to the kingdom Plantae and the Zingiberaceae family. In Hindi, it is called Haldi, and in Sanskrit it is known as Haridra, Peeta, and Yoshitpriya. Turmeric has a rich cultural and historical significance in many Asian countries, particularly in India, where it is widely used in cooking, religious ceremonies, and traditional healthcare practices. Its active compound, curcumin, is known for its anti-inflammatory, antioxidant, and potentially therapeutic properties.
Key takeaways:
- It is a rhizomatous herbaceous perennial plant that grows to a height of 0.3–1.0 m (1–3 ft).
- The leaves are oblong in shape, 30–60 cm (12–24 in) long, and have a lanceolate shape with a sharp tip.
- The flowers are yellow with a pale purple bract.
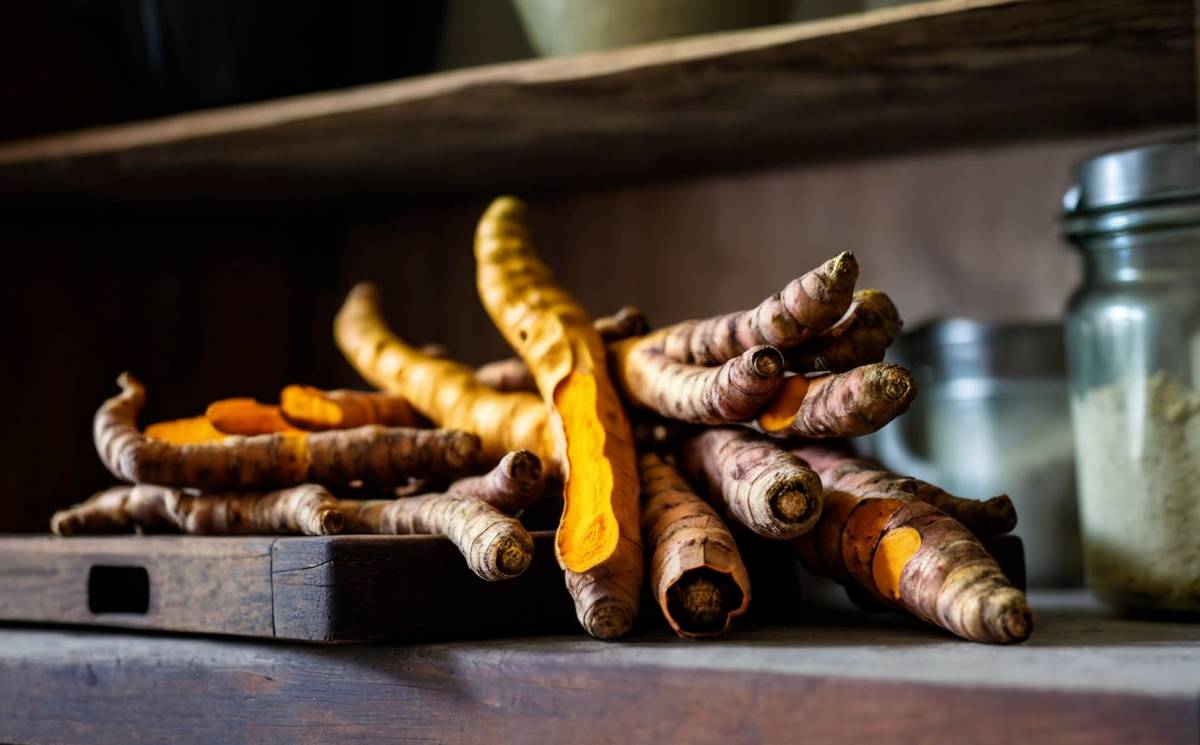
- The rhizomes are the parts of the plant that are typically used as a spice and in traditional medicine.
Turmeric has a rich cultural and historical significance in many Asian countries, particularly in India, where it is widely used in cooking, religious ceremonies, and traditional healthcare practices.
In this article
Choosing the Perfect Variety
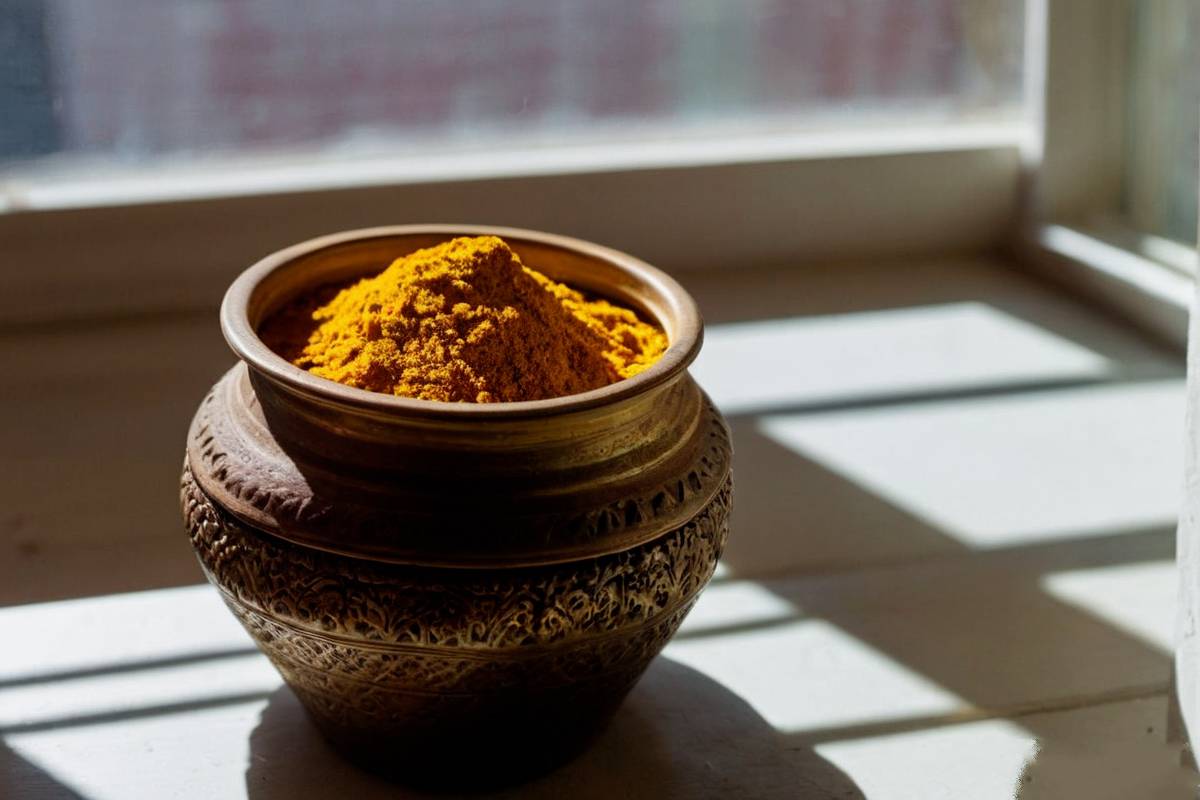
Turmeric contains 5-10% of a volatile oil while makes it smell pungent and heavy. The other components in turmeric are curcumin which is a fragrant oil and turpentine. In addition, it also contains Vitamin A, protein, minerals, lubricant, and carbohydrate.
There are over 30 different turmeric varieties grown across India, each with unique characteristics in terms of color, curcumin content, and regional origins. The most common ones are:
Lakadong
- Grown in Lakadong village, Meghalaya
- Known as the “world’s best turmeric” due to its high curcumin content of 7-12%
- Cultivated naturally without chemical fertilizers
Alleppey
- Grown in Alleppey, Kerala
- Contains around 5% curcumin
- Used in many Ayurvedic medicines and home remedies
Madras
- Common turmeric variety found across India
- Pale yellow color, with an average curcumin content of 3.5%
Erode
- Grown in Erode, Tamil Nadu
- Contains 3-4% curcumin
Sangli
- Grown in Sangli, Maharashtra
- Accounts for over 70% of the state’s turmeric production
- Deep orange color, used for medicinal purposes
Nizamabad
- Grown in Nizamabad, Telangana
- Contains 2-4% curcumin on average
- Has a classic yellow color
Other less common varieties mentioned include Rajapore (Maharashtra) and IISR-Alleppey Supreme.
For compact indoor plants, I recommend ‘Alleppey’ or ‘Madras’. ‘Alleppey’ has medium-sized rhizomes suited for containers. ‘Madras’ produces mildly flavored roots ideal for first-time growers. Consider adding ‘Roma’ later for its large harvests.
| Variety | Optimal Temperature | Optimal Humidity | Sunlight Requirements |
|---|---|---|---|
| Lakadong | 75-80°F | 75-80% | 6-8 hours direct sun |
| Alleppey | 75-77°F | 70-75% | 4-6 hours indirect sun |
| Madras | 75-77°F | 70-75% | 4-6 hours indirect sun |
| Erode | 78-80°F | 75-80% | 6-8 hours direct sun |
| Sangli | 78-80°F | 75-80% | 6-8 hours direct sun |
| Nizamabad | 78-80°F | 75-80% | 6-8 hours direct sun |
Creating the Perfect Environment
Now that you have selected your variety, it’s time to choose the perfect place to grow your plant:
- Find a south or west-facing windowsill. Turmeric needs minimum 4-6 hours of indirect sunlight daily to thrive. Use a grow light shelf if window space is limited.
- In fall/winter when daylight diminishes, supplement with a full-spectrum LED grow light 4-6” above plants for 6-8 hours daily. Keep the soil between 70-80°F with a propagation mat or heat mat with thermostat.
Planting and Care Guide (Months 1-8)
Before you start planting turmeric, you’ll need a few essentials:
- A medium-sized pot with good drainage.
- High-quality potting mix.
- Fresh turmeric rhizomes (you can find these in most grocery stores).
- A warm and sunny spot near a window.
Planting the Rhizomes
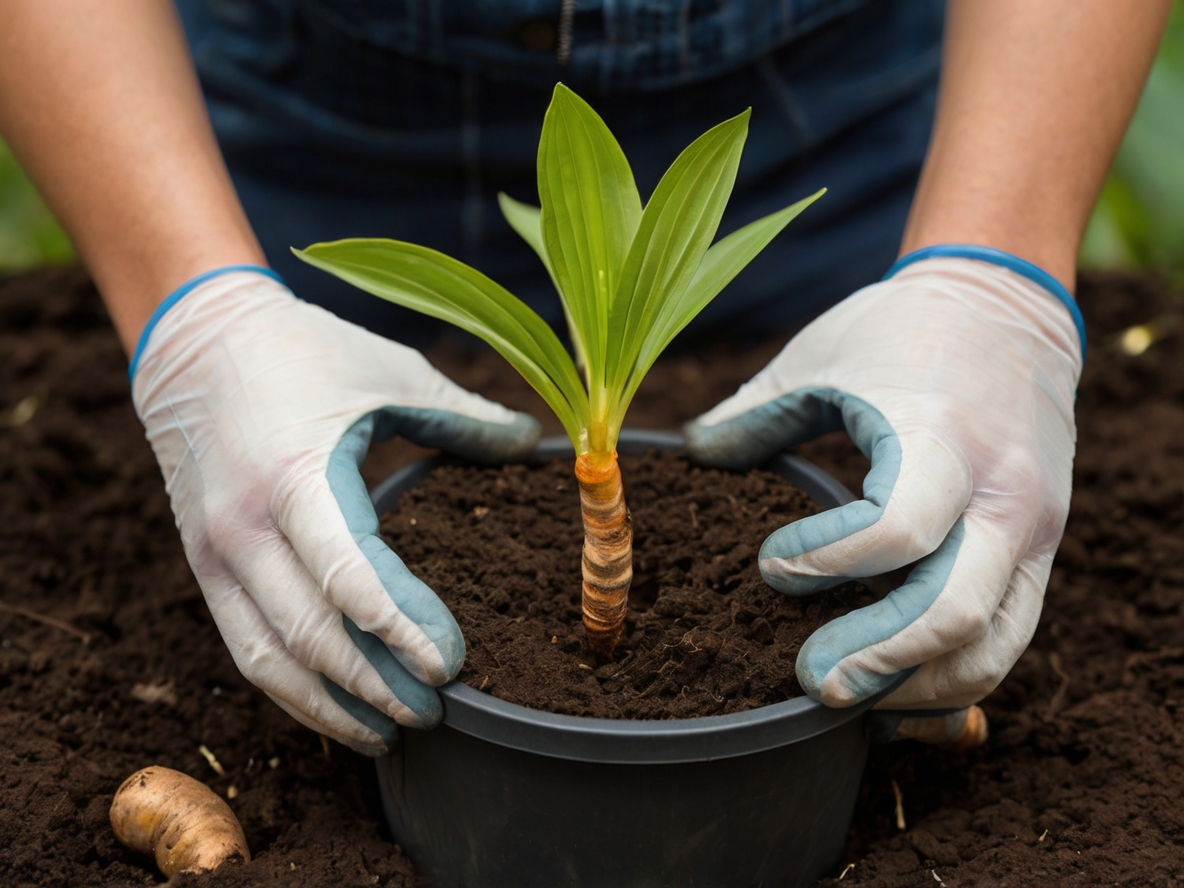
Now comes the fun part – planting your turmeric.
- Use a 6-8” plastic or terracotta pot with multiple drainage holes on the bottom. Terracotta is porous and allows for moisture evaporation, while plastic retains moisture better. Drill additional holes if your pot only has one.
- For soil, mix 2 parts potting soil, 1 part each sphagnum peat moss and perlite or vermiculite. Potting soil provides nutrients while peat moss retains moisture. Perlite or vermiculte improve drainage. Turmeric likes a slightly acidic soil, so consider adding a bit of compost for extra nutrients.
- Select healthy turmeric rhizomes. Avoid any that are shrivelled, damp or damaged. Rinses them gently under water.
- Create holes in the soil using a trowel, spoon or your fingers. Space the holes about 6 inches apart in a grid pattern. The holes should be 2-3 inches deep.
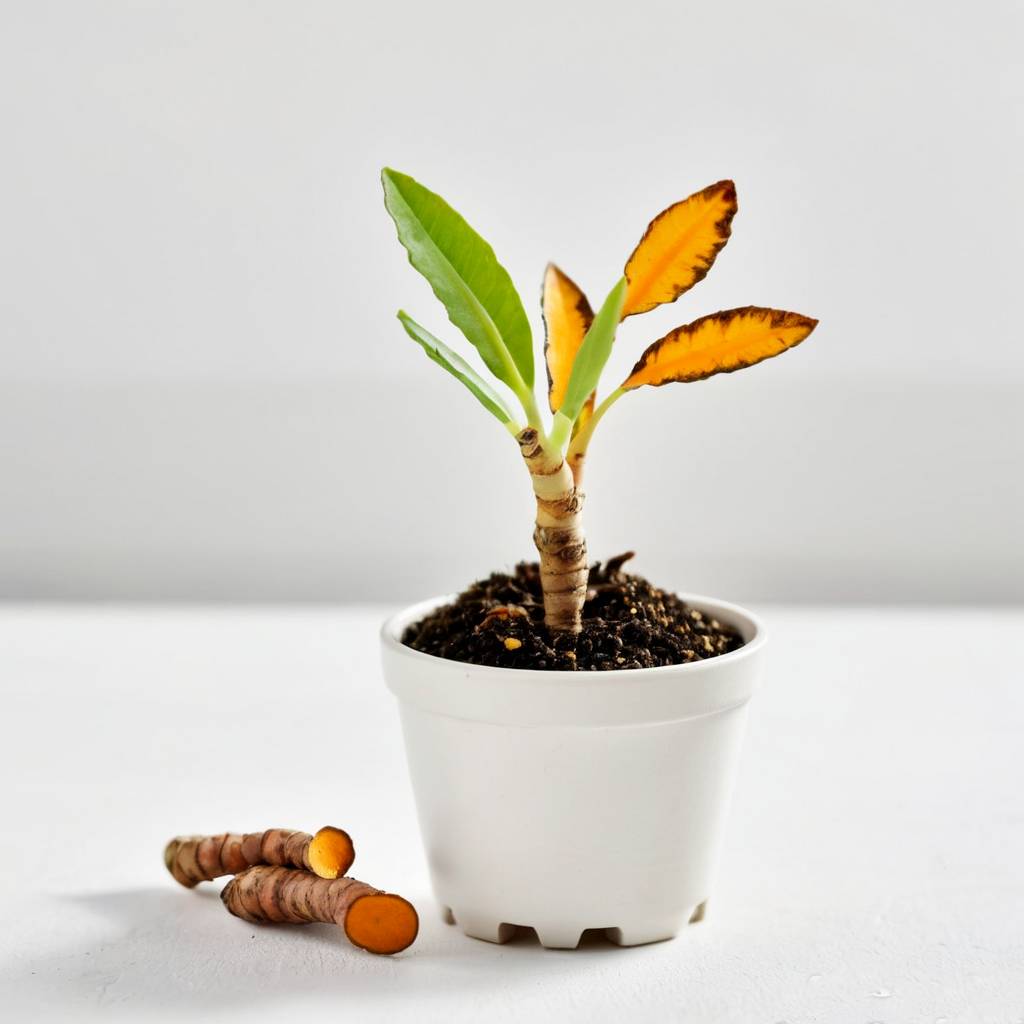
- Holding a rhizome, gently place it eye/bud side up in one of the holes. The eyes should be visible on the top side of the rhizome. Firm soil around each one. Water thoroughly until water drains from drainage holes. Carefully push soil around the rhizome to cover it, leaving the top 1/2 inch exposed. Firm the soil gently.
- Water the soil thoroughly until water drains from the drainage holes. This settles the soil around the rhizomes.
- Mist foliage daily to maintain 70-80% humidity. Water when top 1” is dry. Fertilize monthly during growth season with a balanced houseplant formula.
- Prune off lateral shoots below main stalk using clean scissors to direct energy to rhizomes. Inspect weekly for pests and treat promptly to avoid infestations.
- Place the pot in a warm, sunny spot as described in the article. Keep soil moist until plants are established.
I always find this step a bit magical; it’s like burying treasure that will turn into yellow gold.
Watering and Humidity
Turmeric likes its soil consistently moist but not waterlogged. Water sparingly, ensuring the soil is damp, not soggy. To boost humidity, mist your turmeric occasionally, especially if you live in a dry climate.
Fertilizing Your Turmeric
Like all plants, turmeric needs nutrients to thrive. Fertilize it every 2-4 weeks with a balanced, all-purpose liquid fertilizer, or you can go organic with a seaweed-based option for a natural touch.
Maintaining the Right Environment
Turmeric thrives in a warm, tropical-like environment. Keep your indoor garden at a consistent temperature of around 77°F (25°C). If you can’t maintain this temperature, consider a heating pad or warming mat.
I found that my turmeric plants loved to bask in the sun while I enjoyed my morning coffee. It’s a daily ritual that nurtures both of us.
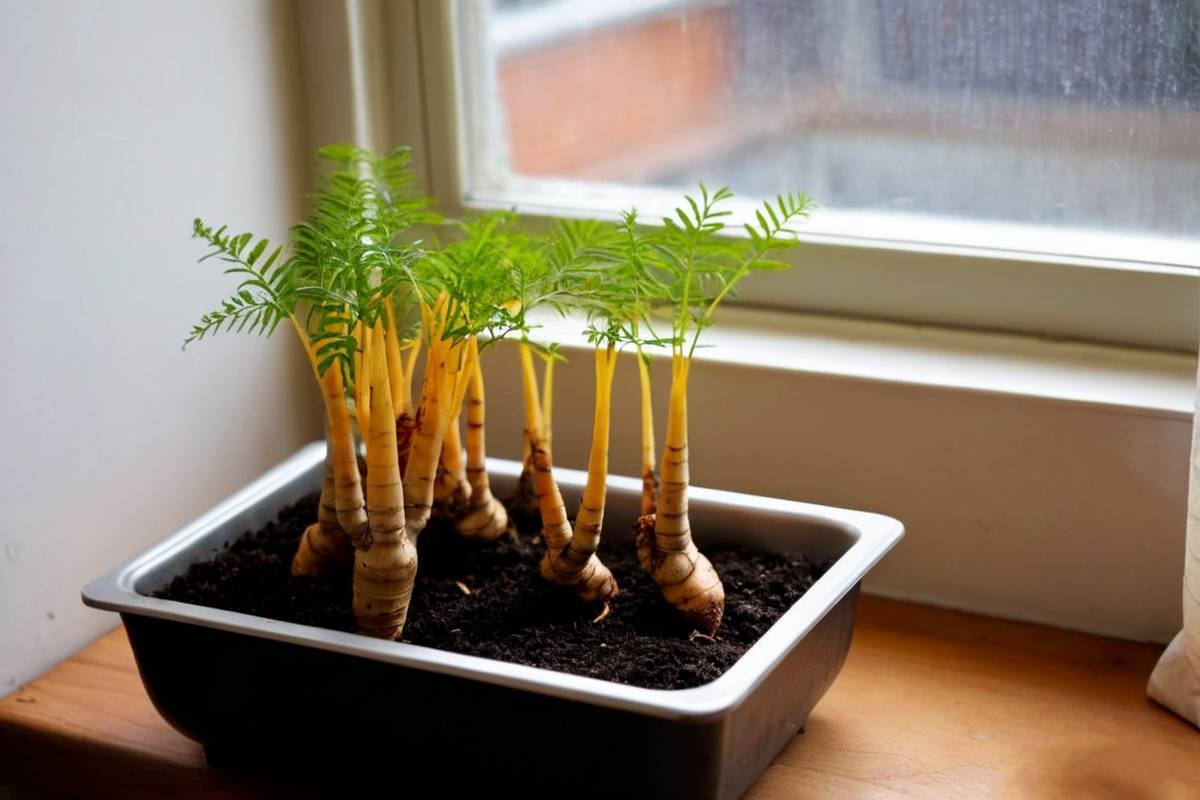
Pruning and Thinning
As your turmeric plants grow, they might become a bit crowded. Thin them out by removing weaker shoots, leaving about 6 inches of space between the remaining ones. Pruning also encourages healthy growth and prevents overcrowding.
Watering Schedule
Consistency is key when it comes to watering your turmeric. Keep the soil consistently moist, but avoid overwatering. Use the “finger test” – stick your finger into the soil about an inch deep. If it’s dry, it’s time to water.
Monitoring for Pests and Diseases
Turmeric plants can sometimes attract aphids, spider mites, or fungal diseases. Regularly inspect your plants for signs of trouble and take action promptly if needed. Neem oil or a simple water and soap solution can help keep these issues at bay.
Harvesting Turmeric
Growing turmeric is a lesson in patience. The rhizomes need about 8-10 months to mature fully. During this time, they’ll send up beautiful green leaves, and you’ll enjoy watching them grow.
When your turmeric is ready for harvest, the leaves will start to turn yellow and wither. This is a sign that the rhizomes are ready to be unearthed. Carefully dig them out but be gentle to avoid damaging the rhizomes.
There’s nothing quite like the feeling of pulling up your first homegrown turmeric root. It’s a moment of pride that can’t be matched by a store-bought spice jar.
Common Challenges
Slow Growth
If your turmeric seems to be growing slowly, ensure it’s getting enough warmth and light. You can also try fertilizing more frequently to boost growth.
Mold or Fungus
Mold or fungus can be a concern, especially in humid conditions. Ensure proper air circulation around your plants and avoid overwatering. A fungicide spray can help combat the issue.
Inadequate Rhizome Size
Sometimes, your rhizomes might not reach the desired size. This could be due to a lack of nutrients or a crowded pot. Repot your turmeric, providing it with fresh, nutrient-rich soil.
Growing turmeric indoors is an incredibly rewarding experience. Not only will you have a fresh supply of this magical spice at your fingertips, but you’ll also enjoy the satisfaction of nurturing a vibrant, living plant.
Remember, turmeric cultivation is a journey, not a destination. With a little care, patience, and a touch of personal magic, you’ll be reaping the golden rewards in no time. So, roll up your sleeves, keep that pot of soil warm and damp, and watch your indoor turmeric garden flourish.
Frequently Asked Questions
How long does it take for turmeric to sprout?
Turmeric typically takes around 3 to 6 weeks to sprout from rhizomes when grown indoors. Patience is key during this period, as it might vary based on factors like temperature and the quality of the rhizomes.
Can I grow turmeric from store-bought rhizomes?
Yes, you can absolutely grow turmeric from store-bought rhizomes. In fact, this is a convenient and common way to start your indoor turmeric garden. Just ensure that the rhizomes you purchase are fresh and healthy.
What are the common pests and diseases affecting indoor turmeric plants?
Indoor turmeric plants can be susceptible to pests such as aphids and spider mites. These tiny insects can damage the leaves and affect plant health. Fungal diseases, including mold and mildew, may also occur, especially in humid conditions. Regular inspection, proper air circulation, and appropriate watering practices can help prevent and address these issues.
How often should I repot my turmeric plant?
You should consider repotting your turmeric plant every 2 to 3 years. As the plant grows, it may become root-bound in its current pot, which can restrict its growth and access to nutrients. Repotting ensures the plant has enough space for healthy development and the renewal of the soil.
What are the health benefits of growing turmeric at home?
Growing turmeric at home not only provides a fresh and abundant supply of this versatile spice but also offers several health benefits. Turmeric has anti-inflammatory and antioxidant properties, and its active compound, curcumin, is associated with various health advantages. Using homegrown turmeric allows you to incorporate this powerful ingredient into your daily cooking, potentially promoting better overall health and well-being. Additionally, nurturing plants indoors can have therapeutic and stress-reducing effects, contributing to your overall mental and emotional well-being.
If you have any more questions or need additional tips, don’t hesitate to reach out.
Happy gardening!