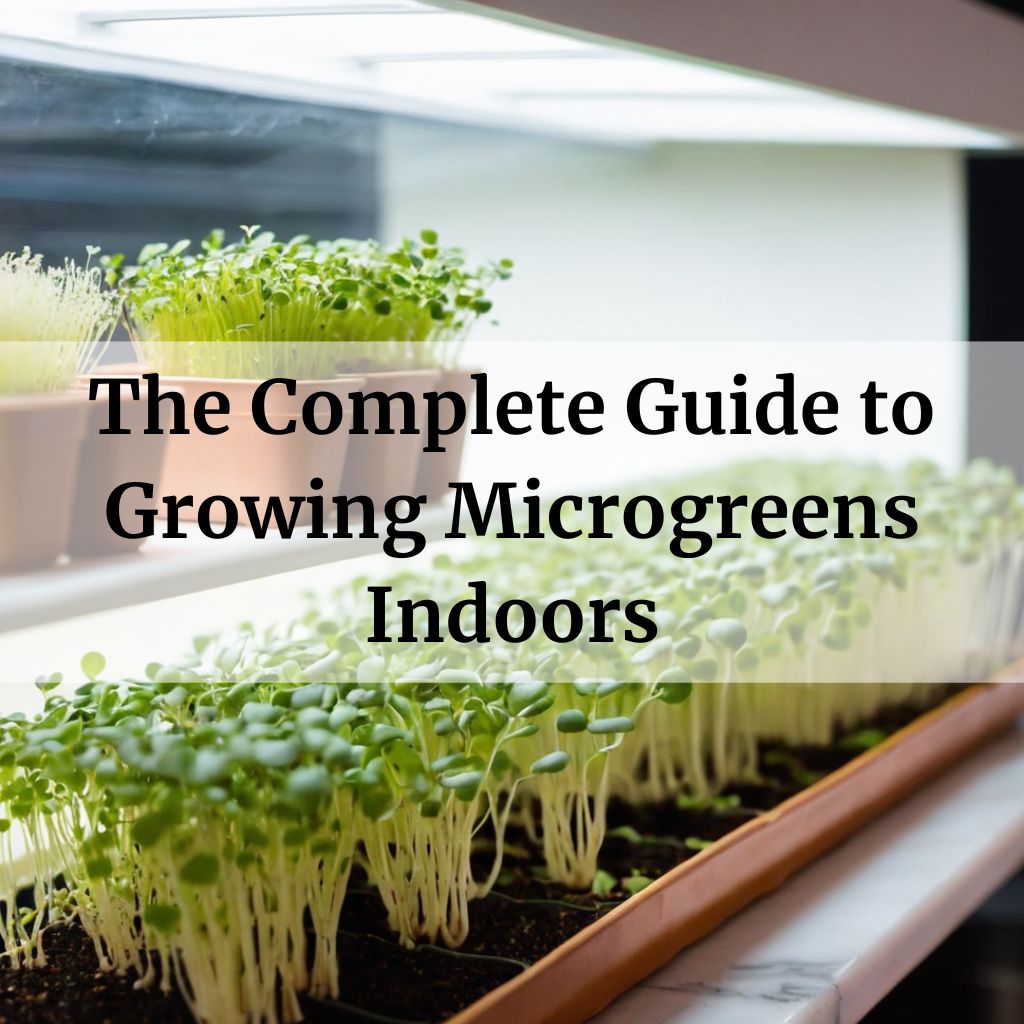
Microgreens are young, tender, and nutrient-rich vegetables that can be grown indoors, making them an ideal addition to your diet. They not only pack a powerful punch in terms of flavor but also offer numerous health benefits.
In this comprehensive guide, we’ll cover everything you need to know about growing microgreens indoors, from the best types to grow, to the optimal growing conditions, and beyond.
So, let’s dive in and discover how you can harness the power of these tiny greens.
In this article
What Are Microgreens and Why Grow Them?
Microgreens are baby vegetables and herbs that are harvested very young, typically 7-14 days after sprouting. The term “microgreens” refers to the new, tender shoots of vegetable plants that are harvested just after the first leaves have developed. They are not the same as sprouts, which are the germinated seeds.
Microgreens are known for their intense flavor, vibrant colors, and high nutrient content. They are typically harvested at a height of 1-3 inches, which is slightly larger than sprouts.
Unlike their full-grown counterparts, microgreens are eaten whole, leaves and stems. They pack a powerful nutritional punch, with antioxidants and vitamins being more concentrated than in mature plants. Their mild flavors also make microgreens very versatile and a fun way to add nutrition to any meal.
For indoor gardeners with limited space, microgreens are an excellent option. They don’t require much room to grow and can be harvested repeatedly to enjoy fresh produce year-round. Through meticulous planning and optimized growing conditions, it’s possible to harvest microgreens every week even in the depths of winter.
Their short growing time also means you’ll be enjoying a harvest much faster than with traditional vegetable gardening.
Selecting the Right Varieties
When starting your indoor microgreen operation, it’s best to choose varieties that are easy to grow and highly nutritious.
Some top options to consider include:
- Arugula: Peppery and slightly mustardy. Loaded with vitamin K, folate, and antioxidants.
- Broccoli: Nutty and slightly bitter with a peppery kick. High in vitamin C and sulforaphane.
- Cress: This type of microgreen has a mild flavor and can be grown in just a few days.
- Kale: Grassy and slightly bitter. Champion source of vitamins A, C, and K plus iron and calcium. This green is a good choice for those new to growing microgreens, as it is slow to bolt and can be grown in a variety of conditions.
- Mustard greens: These spicy microgreens are packed with nutrients and can add a tangy flavor to dishes.
- Pea Shoots: Sweet and grassy. Rich source of vitamin C, folate, and manganese.
- Radish microgreens: These have a milder flavor and can be grown quickly, making them another great option.
- Red Cabbage: Mild cabbage flavor with beautiful burgundy color. Contains phytochemicals and antioxidants.
Avoid varieties that tend to bolt or have a long germination period. You can always experiment further once you’ve got growing microgreens down pat. The above choices are simple yet sublime.
Setting Up Your Indoor Microgreen Farm
To set up a sustainable microgreen operation, you’ll need the following core materials:
- Growing Medium: Coir peat blocks, soil blocks, rockwool cubes, or sprouting trays. Coir peat are easiest.
- Seeds: Choose untreated, non-GMO microgreen seeds. Store in a cool, dry place.
- Lighting: Full-spectrum LED grow lights are ideal. Position 12-16 inches above seedlings.
- Water: Use purified or distilled water for optimal nutrient uptake and to avoid mineral deposits.
- Ventilation: Ensure proper airflow to prevent mold and disease. A small fan is very helpful.
- Harvest Container: You’ll need flat-bottomed containers for collecting cut microgreens. Reusing seedling trays works well.
Growing Conditions for Microgreens
- Light: Microgreens require at least 6 hours of direct sunlight per day, so ensure they are placed in a well-lit area.
- Temperature: The ideal temperature for growing microgreens is between 65°F and 75°F.
- Growing medium: A soilless growing medium, such as a mix of compost and perlite, is recommended for optimal growth.
- Water: Microgreens need consistent moisture but not waterlogged conditions. Check the soil dampness each morning and water if necessary.
How to Grow Microgreens Indoors
- Choose the right container: You can grow microgreens in any container that has drainage holes, such as a plastic or ceramic bowl, a glass jar, or even a shoe box.
- Sow the seeds: Scatter the seeds evenly across the growing medium and gently rake them in. The seeds should be just barely covered.
- Water: Water the seeds thoroughly and then cover the container with a plastic lid or clear plastic wrap. This helps maintain high humidity and prevents dirt from drying out.
- Place in a suitable location: Position your container in a well-lit area but not directly in the path of strong sunlight, as direct sunlight can cause the microgreens to bolt or become leggy.
- Monitor for readiness: In just a few days, your microgreens will be ready to harvest. They can be plucked out of the container whenever they reach an edible size.
Growing Microgreens from Seed
Here’s the basic process to start growing greens from seeds:
1. Hydrate Growth Medium
Place coir peat blocks, soil blocks or other growing medium in a tray and soak with purified water for 8-12 hours.
2. Sow Seeds
Thoroughly mix seeds in a small container with a dash of flour, cornmeal or compost to prevent clumping. Sprinkle evenly across soaked medium at a density of 1/4 to 1/2 tsp per block.
3. Maintain Moisture
Cover seeded blocks lightly with plastic wrap or rehydrate the medium if surface dries out. Check daily and mist as needed.
4. Provide Light & Ventilation
Place seeded tray under grow lights set to at least 16 hours on/day. Position a small fan to keep air circulating.
5. Germination Begins
Within 2-5 days, seedlings should emerge. Remove cover and check that the medium remains moist but not soaked.
6. Harvest in 7-14 days
When cotyledon leaves have expanded and true leaves have begun to form, microgreens are ready to harvest by cutting just above the soil line with sharp scissors.
7. Rinse & Enjoy!
Rinse cut microgreens lightly in a salad spinner or colander. Devour them whole or use as a nutrient-dense garnish. Store leftovers in the fridge.
With the right cultivar selections and growing practices, you’ll be sustaining a continual microgreen harvest in no time.
Troubleshooting
- Leggy or slow to grow: If your microgreens are growing slowly or becoming leggy, it may be due to insufficient light. Move the container to a brighter location or provide supplemental lighting.
- Damp soil: If the soil stays too damp for extended periods, it can lead to mold. Ensure the soil has proper drainage and avoid overwatering.
- Pests: Microgreens can fall prey to various pests, such as aphids, caterpillars, and thrips. Remove any visible pests by hand and use organic insecticides if necessary.
Creative Ways to Use Microgreens
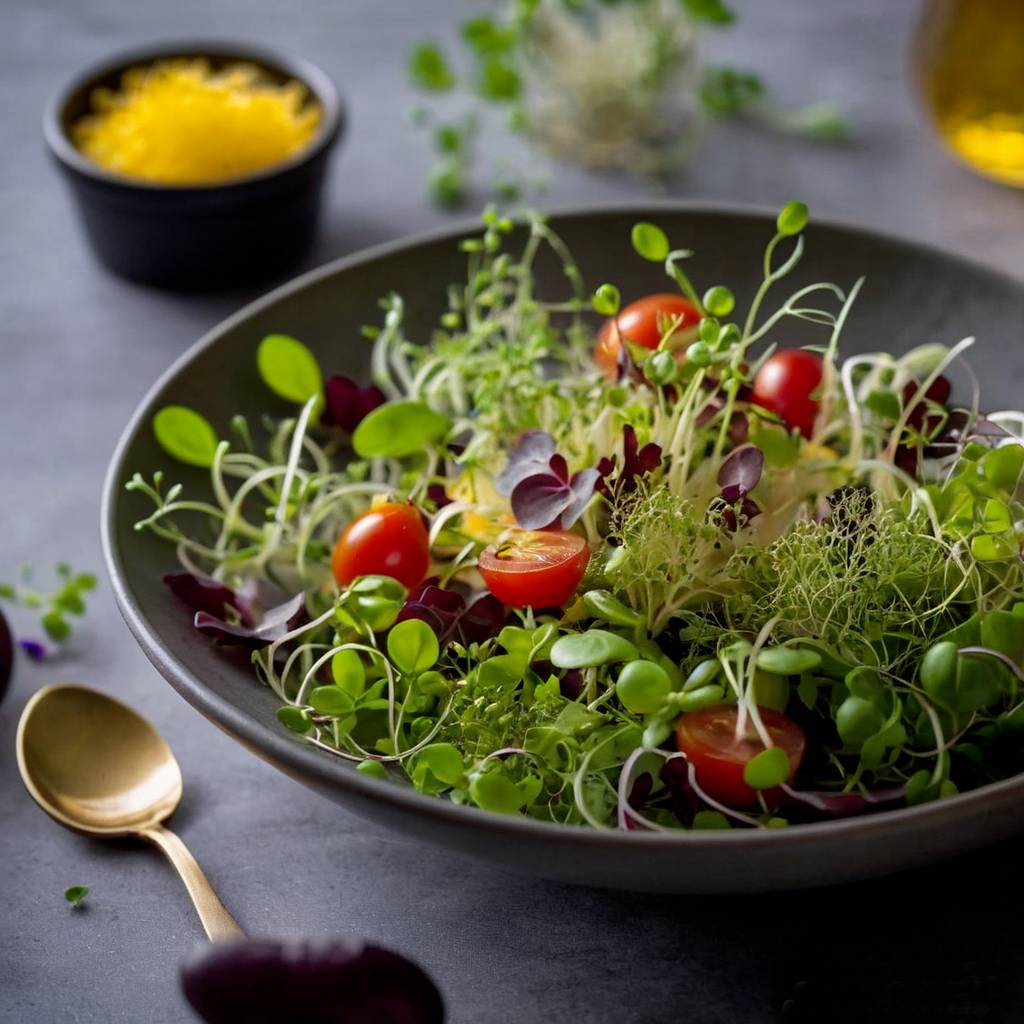
- Salads: Microgreens can add a burst of freshness and variety to salads.
- Sandwiches: Tuck them into sandwiches for a tasty crunch.
- Stir-fries and soups: Incorporate them into stir-fries, soups, and more.
- Garnishes: Use them as garnishes for cocktails, appetizers, and more.
Growing microgreens indoors is a rewarding and easy process that allows you to enjoy the benefits of these nutrient-rich greens all year round.
With just a few simple steps and the right growing conditions, you can be enjoying homegrown microgreens in no time.
So, why not give it a try and see the delicious impact it can have on your meals?
Happy gardening!