A wall planter is a creative and practical way to display your plants in a vertical style while also allowing you to write messages or labels on the pots. In this article, we’ll show you how to create your own DIY chalkboard wall planter in a few simple steps.
In this article
Choose a spot for the planter

You need to choose a wall where you want to hang your planter. Make sure the wall is sturdy and can support the weight of the pots and plants. You also need to measure the wall and decide how many pots you want to use and how big they should be. If you don’t want to attach them directly to a wall make sure you have a sturdy wooden board or frame.
Buy supplies
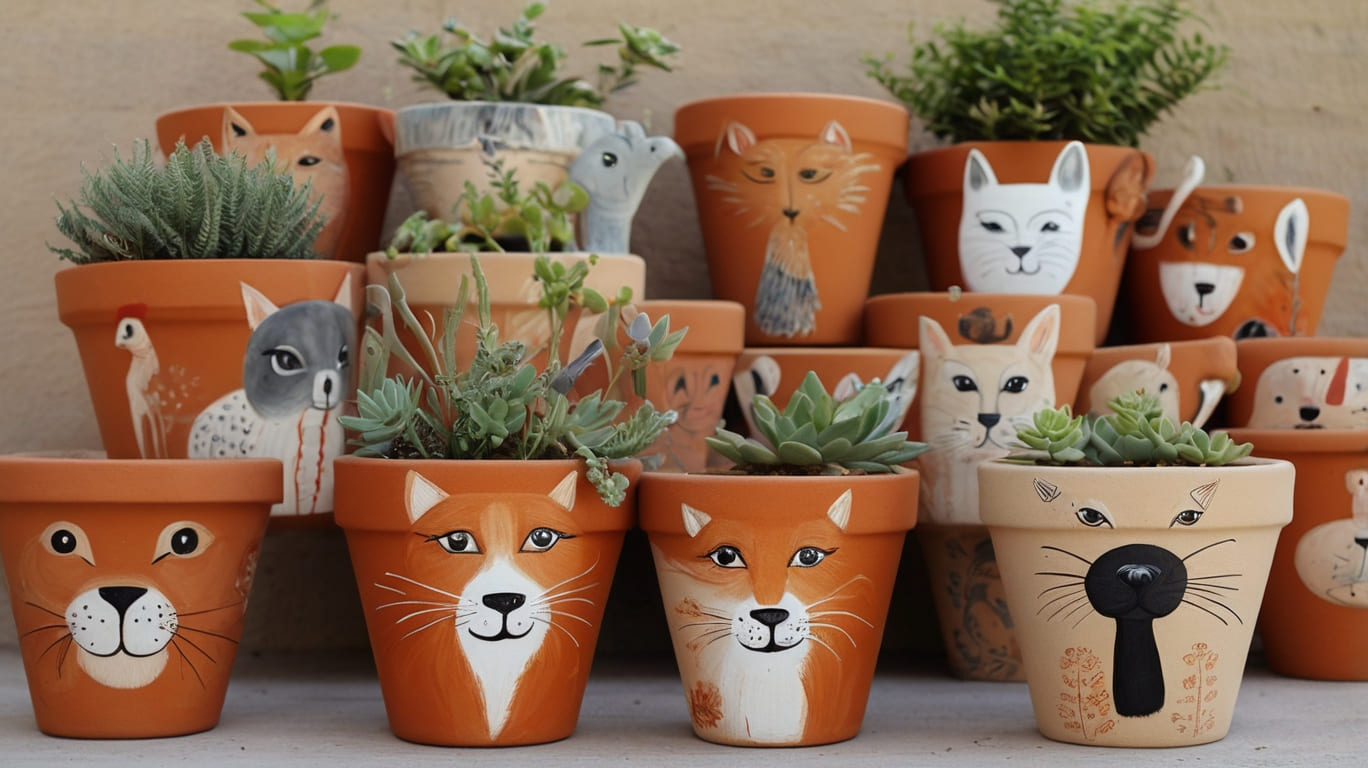
Next, you need to get some terra cotta pots and paint them with chalkboard paint. Chalkboard paint is a special type of paint that creates a chalkboard-like surface when it dries. You can find it at home improvement or craft stores. You can also choose any color you like for your pots, but darker colors will make the chalk more visible.
Equipment list
| Item | Purpose |
|---|---|
| Foam paint roller | For applying paint |
| 2-inch paint brush | For detailed painting |
| Paint roller frame | Holds the paint roller |
| Disposable gloves | Protects hands |
| Sandpaper | Prepares the surface |
| Stir stick | Mixes paint |
| Rags | Cleanup and wiping |
| Eraser | Erases chalk |
| Chalkboard paint | For painting the surface |
| Pot or pots | Containers for paint |
| Screws | Fastening |
| Drill | Drilling holes |
| Saw | Cutting materials |
| Nailer | Fastening nails |
| Air compressor | (optional) Air supply |
The specific equipment needed may vary depending on the project and the materials you are using. If you are making a hanging planter you may need to drill pocket holes into the frame.
RELATED: 15 Herb Garden Ideas That Don’t Need a Windowsill
Painting your pots
To paint the pots, you need to clean them first with water and a brush. If you use soap, make sure to rinse them well. Then, apply a coat of terra cotta sealer to the pots to prevent moisture from seeping through.
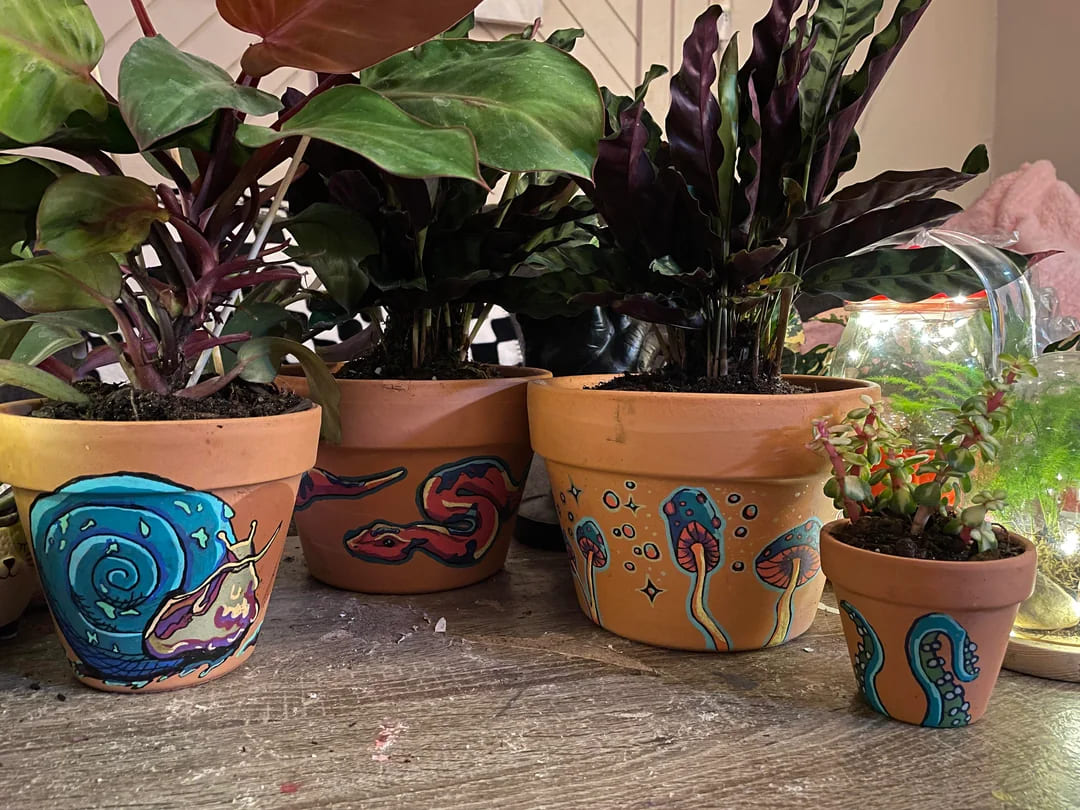
Let the sealer dry completely before applying the chalkboard paint. You may need to apply two or three coats of chalkboard paint, depending on the coverage and the color. Let the paint dry for at least a day before using the pots.
Attach them to the wall or board
Now that your pots are ready, you need to attach them to the wall. There are different ways to do this, depending on your preference and the style of your planter. One option is to use hooks or nails to hang the pots directly on the wall. Another option is to use a wooden board or frame as a base for your planter and attach the pots to it with screws or glue.
You have just made your own wall planter! Enjoy your new addition to your home and have fun changing it up with different plants and messages.
Happy gardening!

