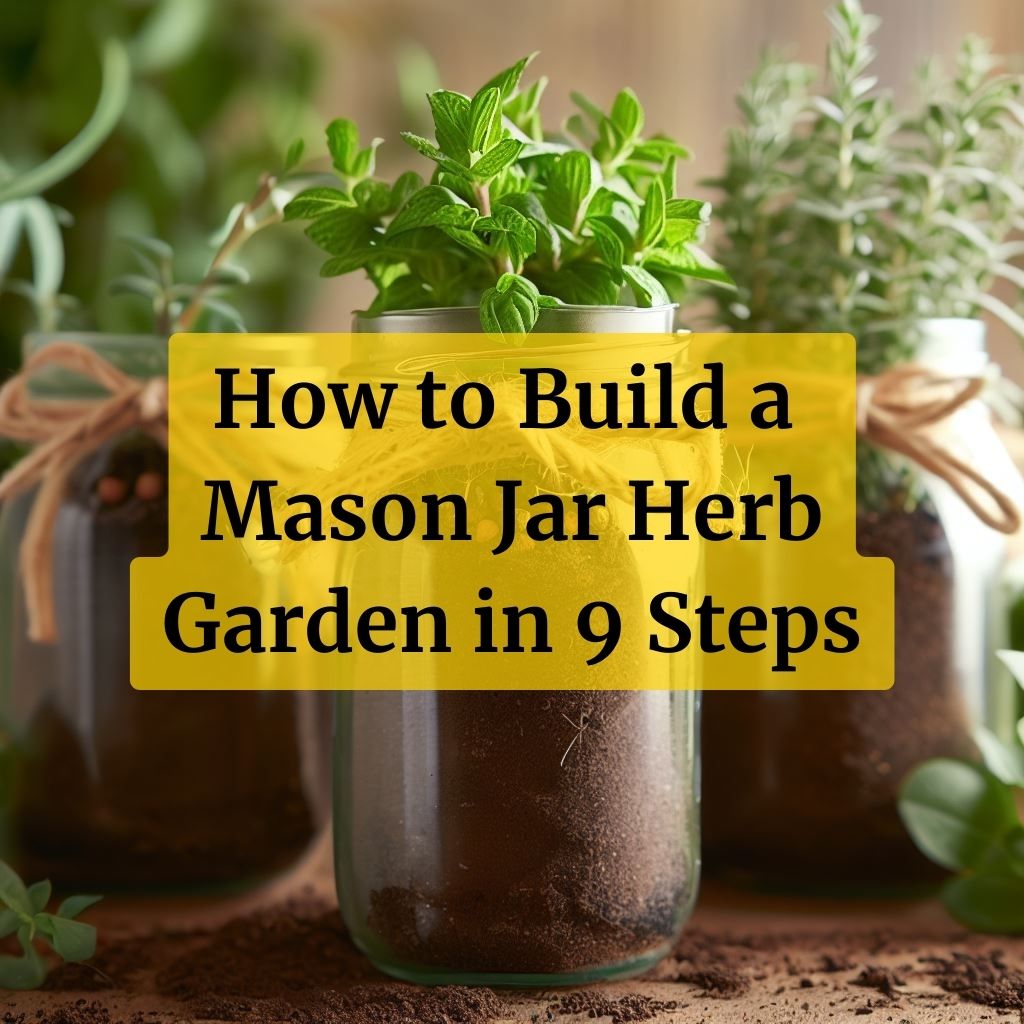
Building a mason jar herb garden is a fun and easy DIY project that can be completed in just a few minutes. By following these 9 simple steps, you can grow your favorite herbs indoors in mason jars and enjoy fresh, flavorful herbs in your cooking all year round.
Contents
- 1 Step 1: Gather your materials
- 2 Step 2: Place Rocks in Jars
- 3 Step 3: Add Potting Soil
- 4 Step 4: Transplanting the Herbs
- 5 Step 5: Labelling and creatively displaying your jars
- 6 Step 6: Cultivating and Using Your Herbs
- 7 Step 7: Place the herbs where they can receive plenty of sunlight.
- 8 Step 8: Water the herbs regularly using a spray bottle
- 9 Step 9: Use fresh herbs in your favorite recipes
Step 1: Gather your materials
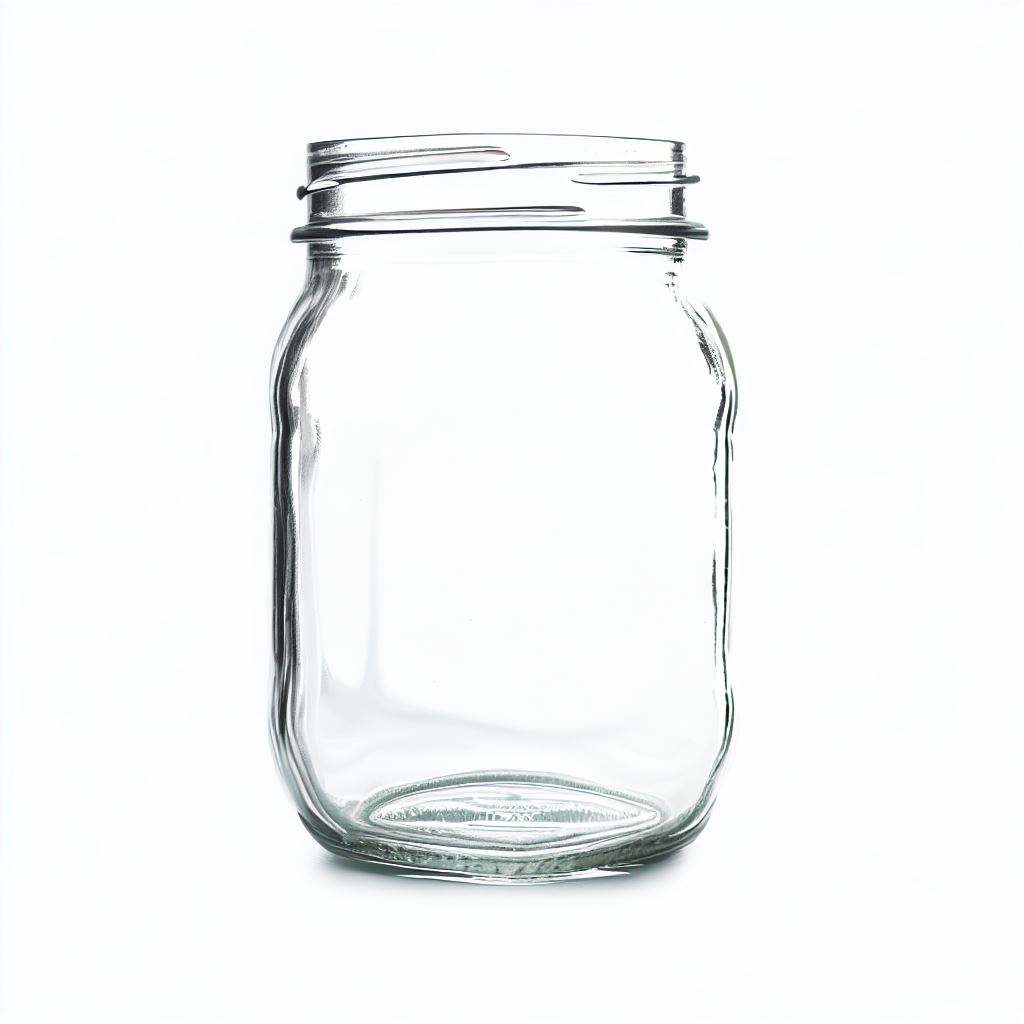
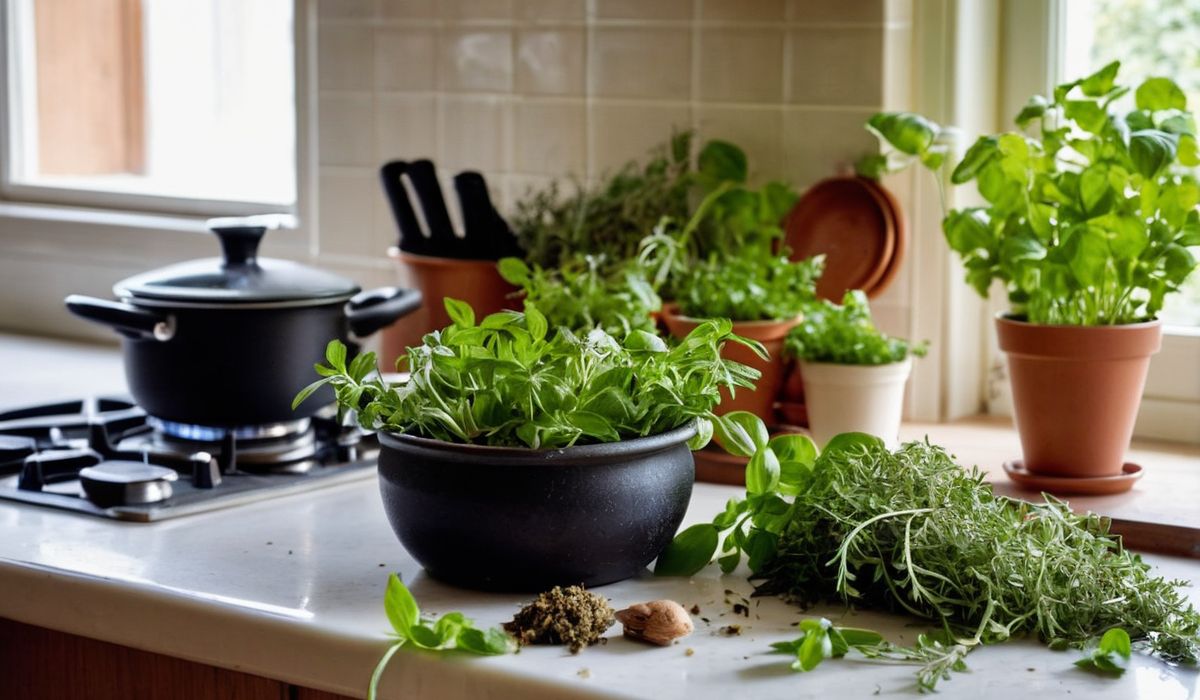
When gathering your materials, make sure to choose jars that are the appropriate size for the herbs you want to grow. I once made the mistake of using jars that were too small for my herbs, and they quickly became root-bound and stopped growing. It’s also important to choose herbs that are well-suited for indoor growing, such as basil, parsley, and thyme.
| Checklist Item | Quantity/Description |
|---|---|
| Multiple quart or pint-sized mason jars | Multiple (as needed) |
| Potting soil | Sufficient quantity |
| Small stones, gravel or sand | Enough for drainage |
| Various herb seeds or developed plants | As desired |
| Blank labels | Sufficient quantity |
| Kitchen fork or other implement | For aeration and planting |
| Spray bottle (optional) | Optional, for watering and misting |
After you’ve gathered all of your materials, the next step is to assemble your Mason herb garden. It shouldn’t take too long, which is why this is the perfect weekend project.
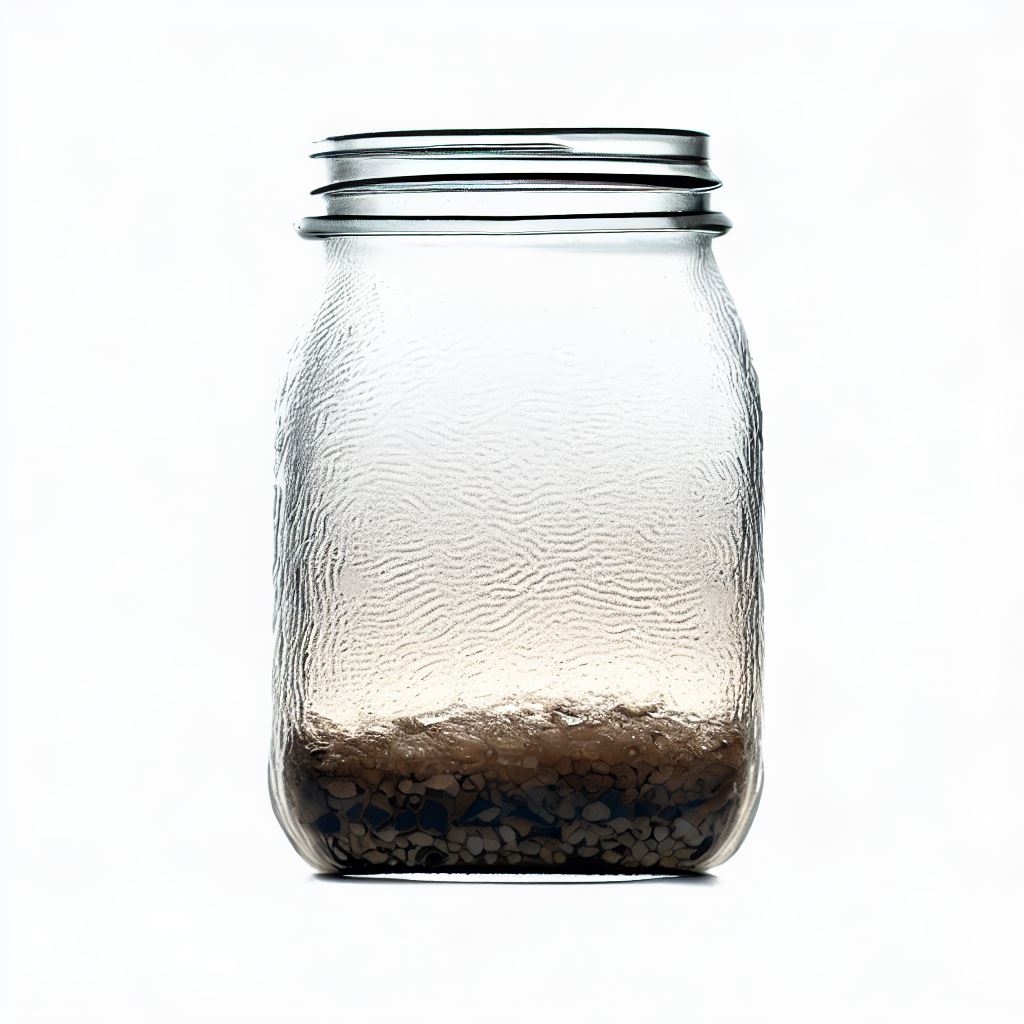
Step 2: Place Rocks in Jars
When placing rocks in the jars, make sure to use enough to cover the bottom of the jar, but not so much that it takes up too much space. If you use too many rocks, it makes it difficult to fit enough soil in the jar for the herbs to grow properly.
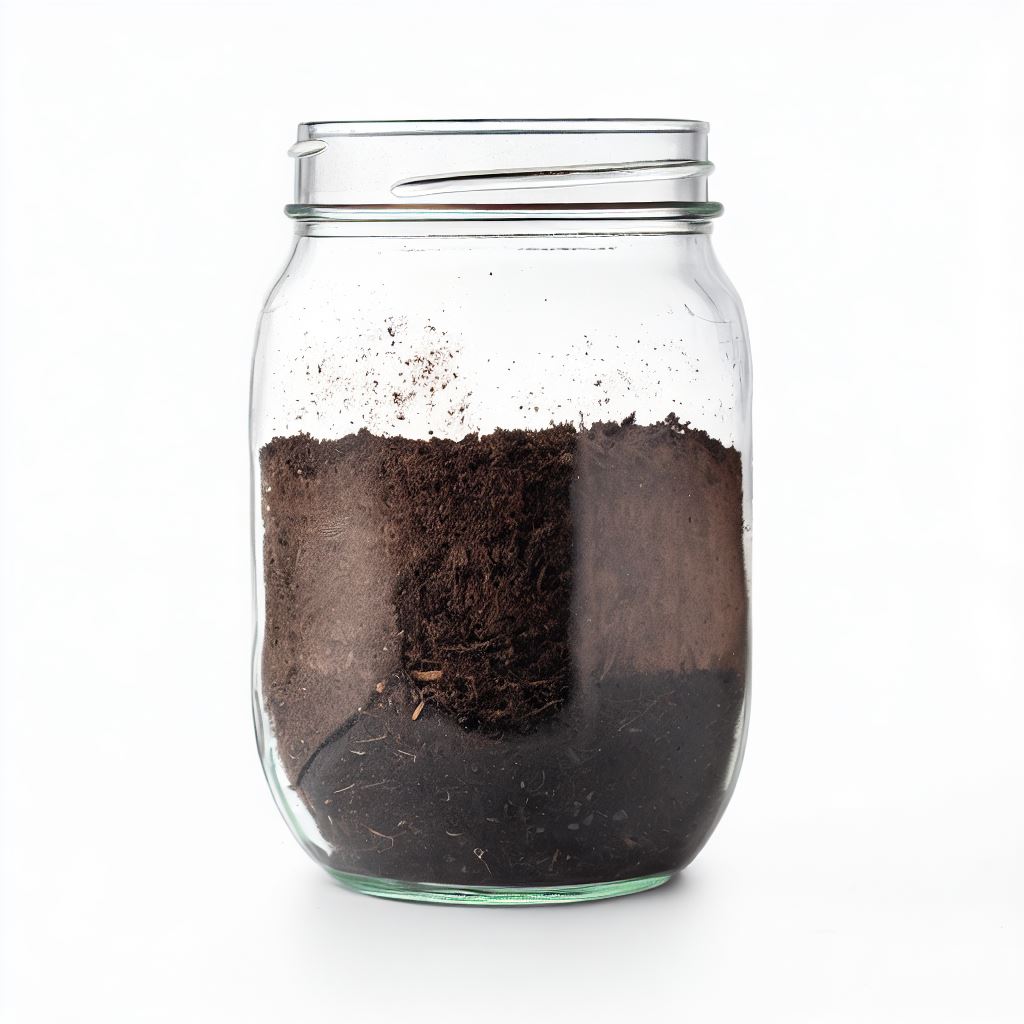
Step 3: Add Potting Soil
When adding potting soil, make sure to pack it down firmly around the roots of the herbs. If you don’t pack the soil down enough, the herbs won’t have enough support to grow properly. But don’t pack your soil too densely since this can make it more difficult for your plant to receive the proper water and nutrients it needs to thrive.
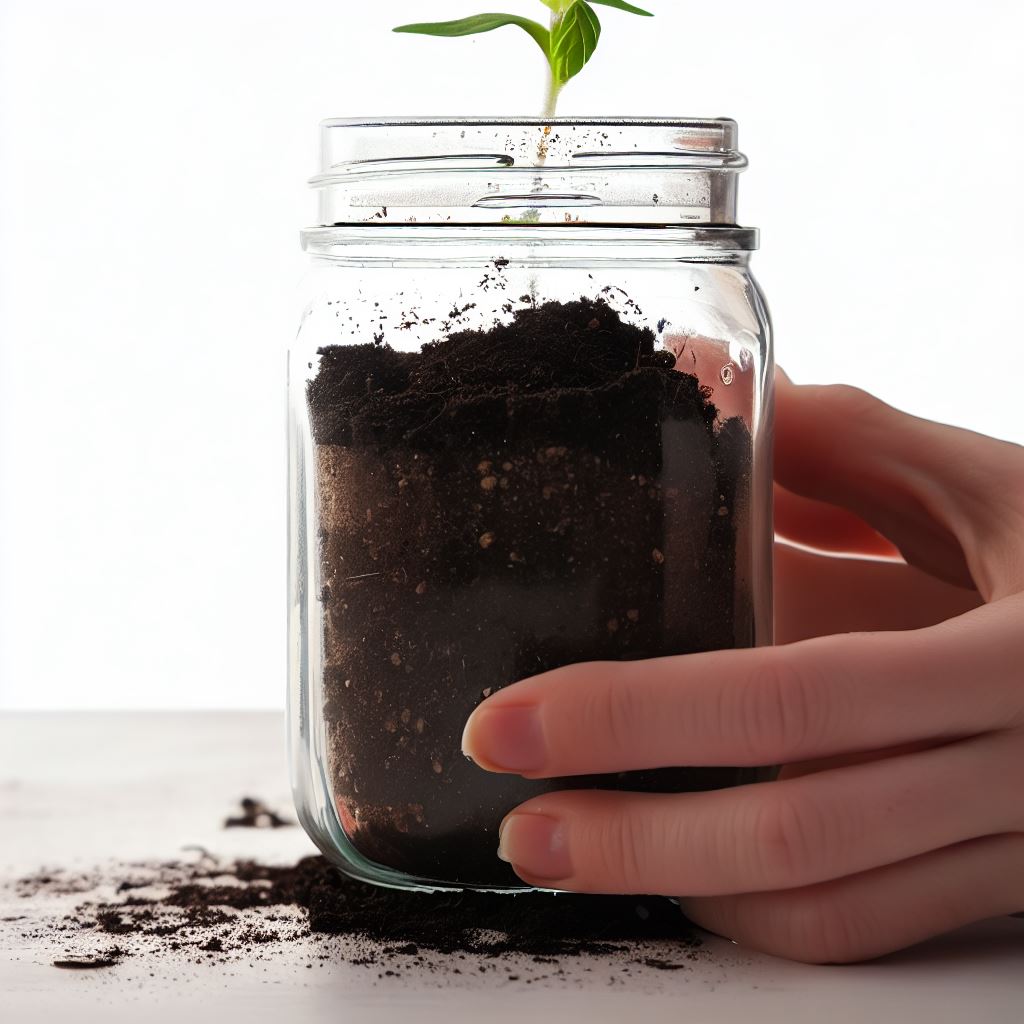
Step 4: Transplanting the Herbs
When transplanting the herbs, make sure to be gentle with the roots and handle them as little as possible. I once made the mistake of being too rough with the roots, and it caused the herbs to go into shock and stop growing.
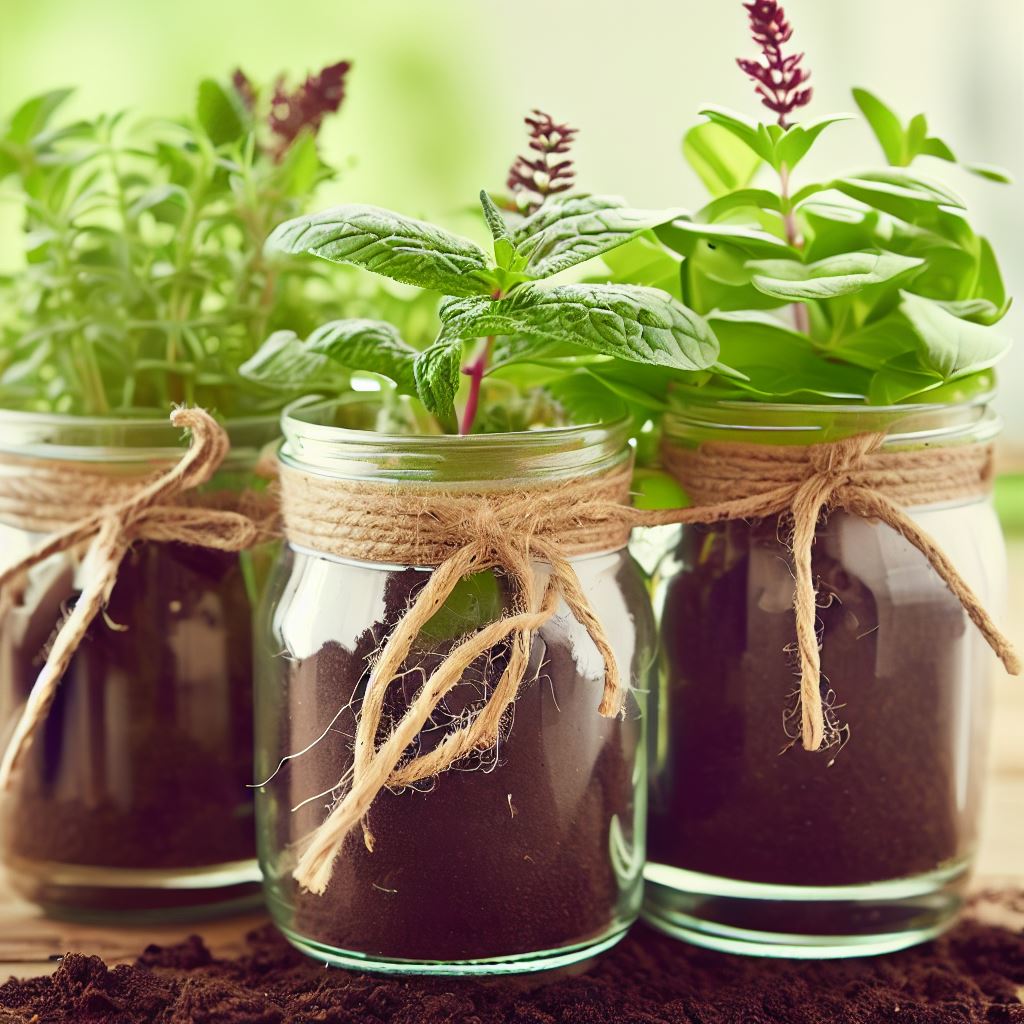
Step 5: Labelling and creatively displaying your jars
When labelling your jars, make sure to use a waterproof marker or label to prevent the ink from smudging or washing off. You can make a unique and high-end look with ribbons, labels and creatively displaying them on a shelf or windowsill or create a vertical display box.
Step 6: Cultivating and Using Your Herbs
When cultivating your herbs, make sure to place them in a sunny spot where they can receive at least 6 hours of sunlight per day. If you place your herbs in a spot that doesn’t get enough sunlight they quickly became leggy and weak.
Step 7: Place the herbs where they can receive plenty of sunlight.
When placing your jars, make sure to choose a spot that gets plenty of sunlight. If you don’t have a sunny spot, you can use a grow light to supplement the light. A windowsill or low shelf in an open area can be a good place to leave them. As a general rule, your herbs should get at least six hours of sunlight a day in order to flourish.
Move the jars around as needed to keep them exposed to direct sunlight. Too much or too little shade can stunt the growth of young plants. For those short, dark winter days, it can help to have a secondary light source, like a grow light or heating lamp.
Step 8: Water the herbs regularly using a spray bottle
It’s also important to water your herbs regularly using a spray bottle, being careful not to overwater them. It’s also important to check the soil regularly to make sure it’s moist but not waterlogged. Once your herbs have begun to sprout, they’ll only need enough water to dampen the uppermost layer of soil. Wait until the soil is dry to the touch before watering them again. Try not to oversaturate the plants, as too much moisture can kill them off.
Step 9: Use fresh herbs in your favorite recipes
When using your herbs in recipes, make sure to snip off the leaves as needed and enjoy the fresh flavor they add to your dishes.
Building a mason jar herb garden is a fun and easy DIY project that can be completed in just a few minutes and bring you joy for a long time. By following these 9 simple steps and learning from personal anecdotes and experiences, you can grow your favorite herbs indoors and enjoy fresh, flavorful herbs in your cooking all year round.