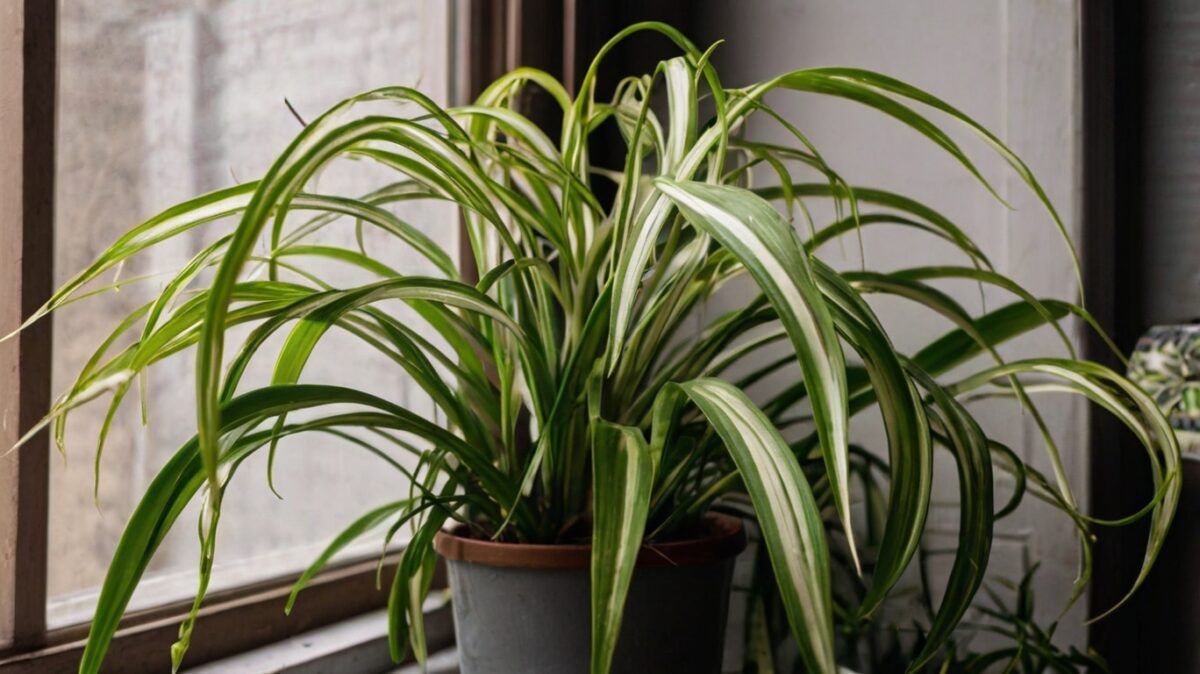
Spider plants are popular houseplants known for their easy care and air-purifying qualities. However, even these resilient plants eventually outgrow their containers. Recognizing when to repot is crucial for maintaining the health and vitality of your spider plant. This guide will help you identify the signs that indicate it’s time for a larger pot and provide detailed information on the repotting process.
Signs Your Spider Plant Needs Repotting
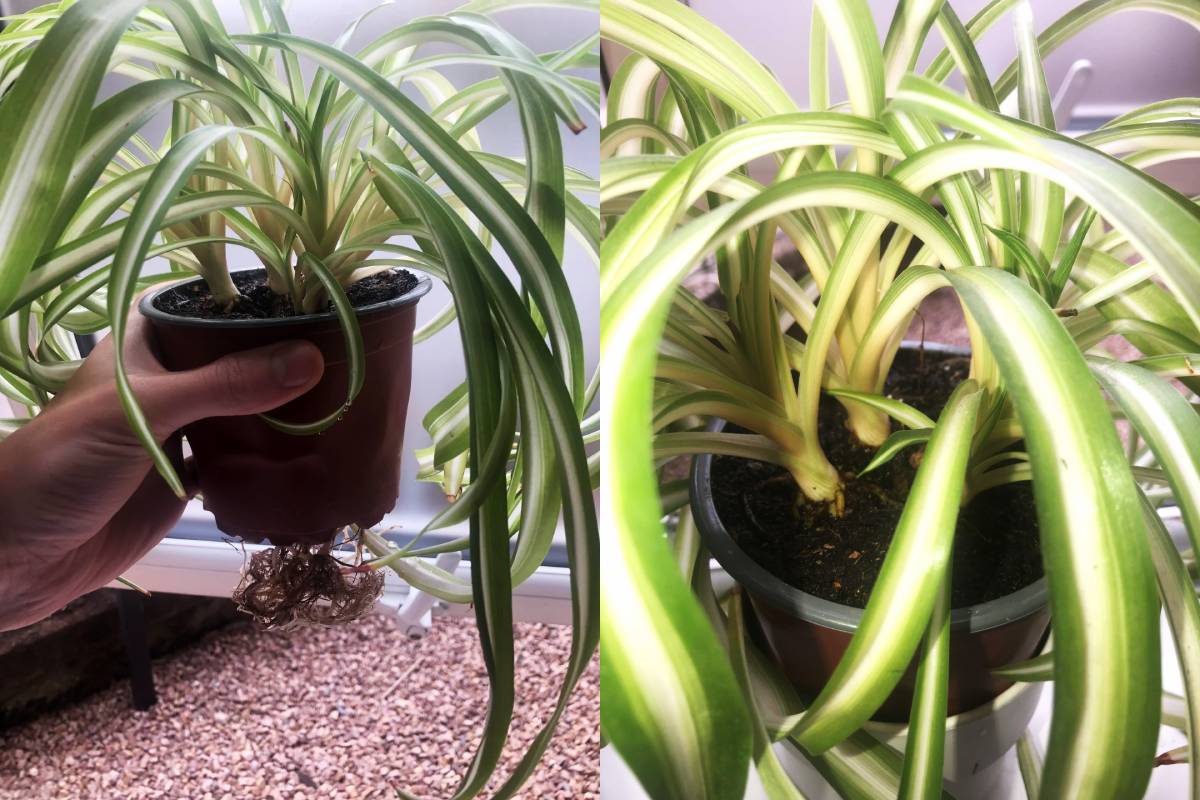
- Root Growth Beyond the Pot: One of the most obvious indicators is roots growing out of the drainage holes or appearing on the soil surface. This suggests that the root system has become too large for the current container.
- Soil Drying Out Quickly: If you find yourself watering more frequently because the soil dries out faster than usual, it may be a sign that the roots have filled the pot, leaving little room for water-retaining soil.
- Yellowing Leaves: While yellowing leaves can have various causes, when combined with other signs, they may indicate nutrient deficiency or root stress due to cramped conditions.
- Slowed Growth and Reduced Offshoot Production: A noticeable decrease in growth rate or a reduction in the production of plantlets (often called “spiderettes”) can signal that the plant is struggling in its current pot.
- Soil Level Reduction: As roots fill the pot and organic matter decomposes, you may notice the soil level dropping, exposing the upper roots.
- Time Since Last Repotting: Generally, spider plants benefit from repotting every 2-3 years, even if they don’t show obvious signs of stress.
The Repotting Process
When you’ve determined that your spider plant needs repotting, follow these steps:
- Select a New Pot: Choose a container 1-2 inches larger in diameter than the current one. Ensure it has adequate drainage holes.
- Prepare Potting Mix: Use a well-draining, nutrient-rich potting soil. A mix designed for indoor plants is suitable.
- Remove the Plant: Gently ease the spider plant out of its current pot. If it’s root-bound, you may need to break the pot as a last resort.
- Inspect and Prune Roots: Examine the root ball. Trim any dead, damaged, or excessively long roots with clean, sharp scissors.
- Position in New Pot: Place the plant in the new container, ensuring it sits at the same depth as in the previous pot.
- Add Soil: Fill around the root ball with fresh potting mix, gently firming it to eliminate air pockets.
- Water Thoroughly: Give the plant a good watering until water drains from the bottom of the pot.
- Aftercare: Place the repotted plant in a location with bright, indirect light. Avoid fertilizing for about a month to allow the plant to adjust to its new home.
Additional Considerations
- Pot Material: While plastic pots are lightweight and retain moisture well, clay pots can provide better air circulation to the roots.
- Soil pH: Spider plants prefer slightly acidic to neutral soil (pH 6.0-7.2).
- Division: During repotting, you may choose to divide large plants to create multiple smaller plants.
- Season: Spring or early summer is the ideal time for repotting, coinciding with the plant’s active growth period.
By paying attention to these signs and following proper repotting techniques, you can ensure your spider plant remains healthy and continues to thrive.
RELATED: Low-maintenance plants ideal for busy people
Happy gardeing!